As the winter frost fades and the Texas sun begins to warm, pool owners across the state feel the familiar itch to dive back into the water. However, transitioning your pool from its winter slumber to a summer-ready oasis requires more than just pulling back the cover and jumping in. A proper spring start-up is vital to the longevity of your equipment, the health of your family, and the clarity of your water. Neglecting the proper steps now can lead to expensive repairs or a mid-season algae bloom that ruins your Fourth of July weekend.
Opening your pool correctly ensures that your filtration system is functioning at peak efficiency and that your water chemistry is perfectly balanced. If you followed our guide on How to Prepare Your Pool for Texas Winter: The Complete Maintenance Guide, your opening process will be significantly easier. If not, don't worry—this checklist will walk you through everything you need to know to get your Tiki Tides pool sparkling again.
Phase 1: Pre-Opening Preparation
Before you touch the pool cover, you need to gather your supplies. There is nothing more frustrating than being halfway through a startup only to realize you are out of shock or missing a drain plug.
Tools and Supplies Needed:
- Pool Cover Pump: To remove standing water from solid covers.
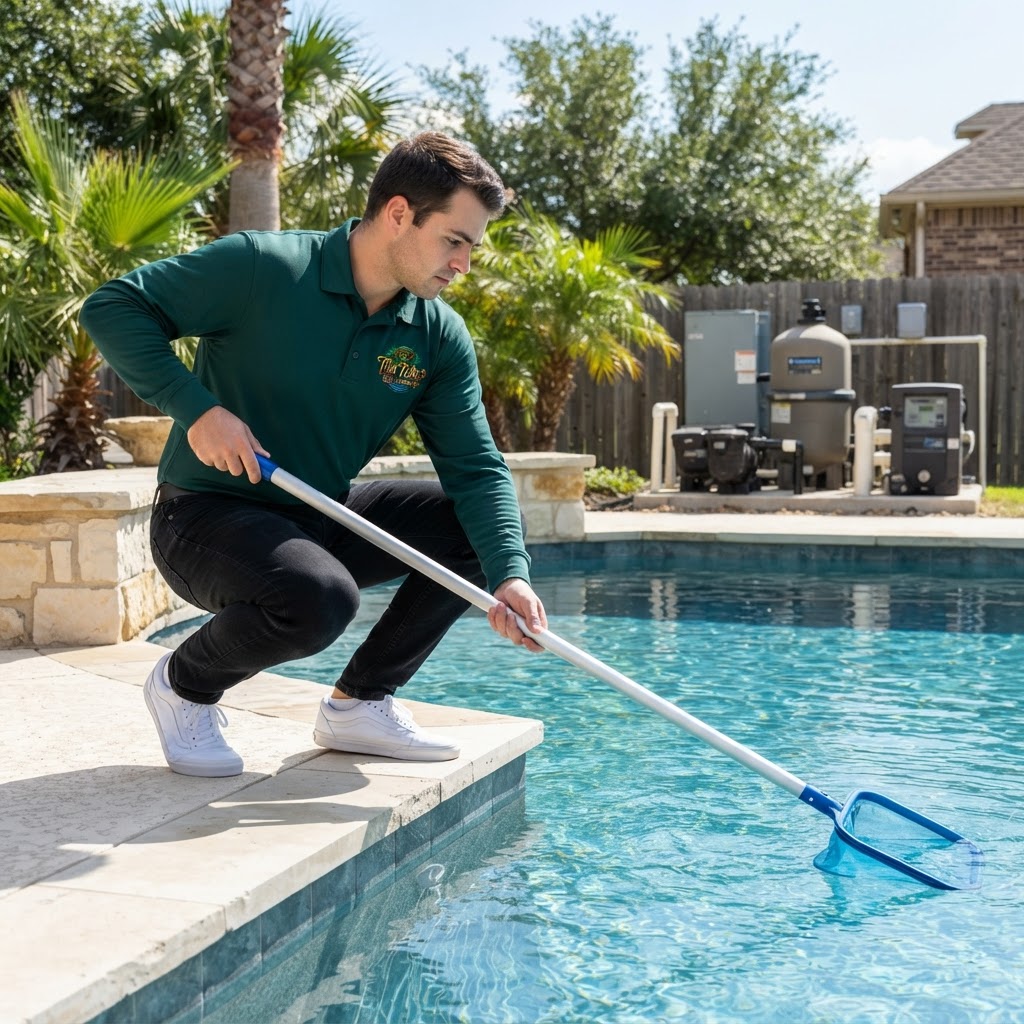
- Telescoping Pole and Skimmer Net: For surface debris.
- Pool Brush: To scrub the walls and floor.
- Vacuum Head and Hose: To remove settled sediment.
- Lubricant: Non-petroleum-based silicone lubricant for O-rings.
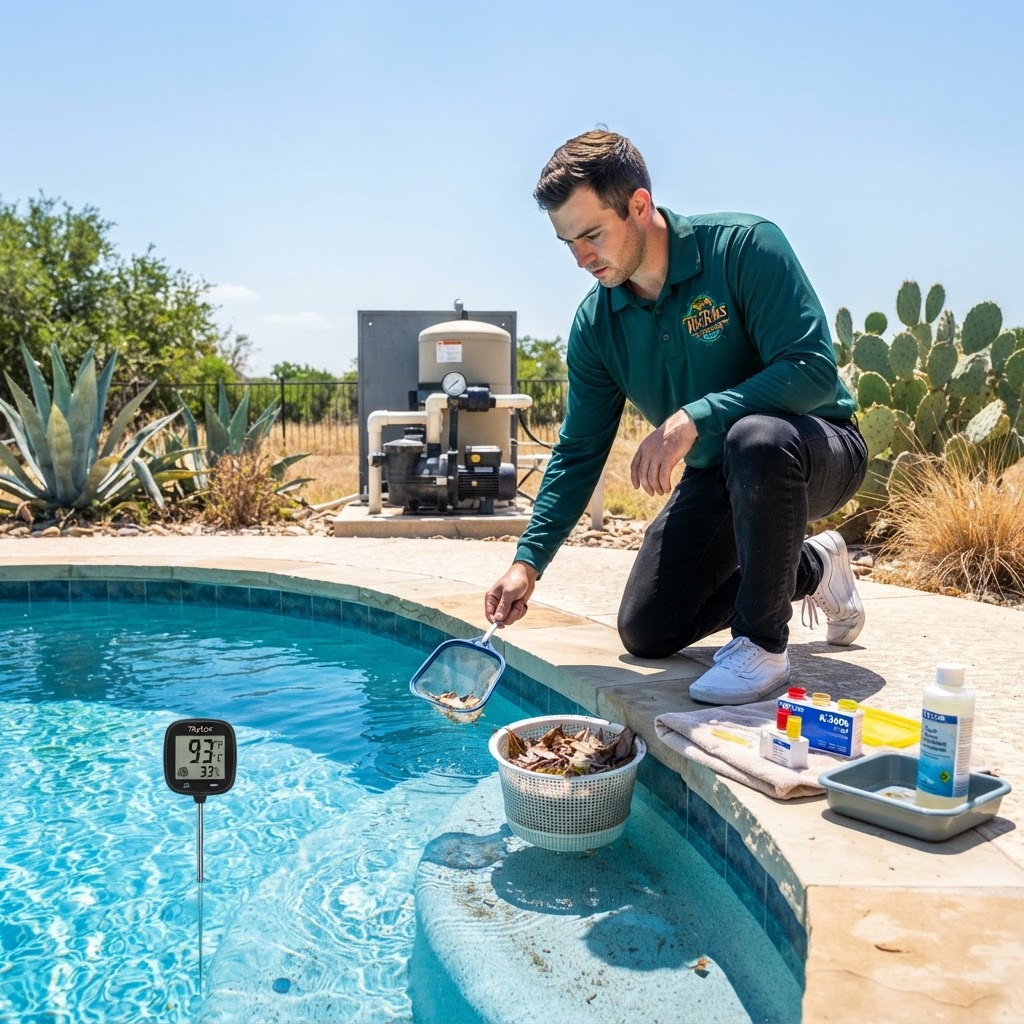
- Chemicals: Pool shock (calcium hypochlorite or liquid chlorine), pH increaser/decreaser, alkalinity increaser, and a high-quality water testing kit.
- Teflon Tape: For sealing threaded connections.
Phase 2: Removing the Pool Cover
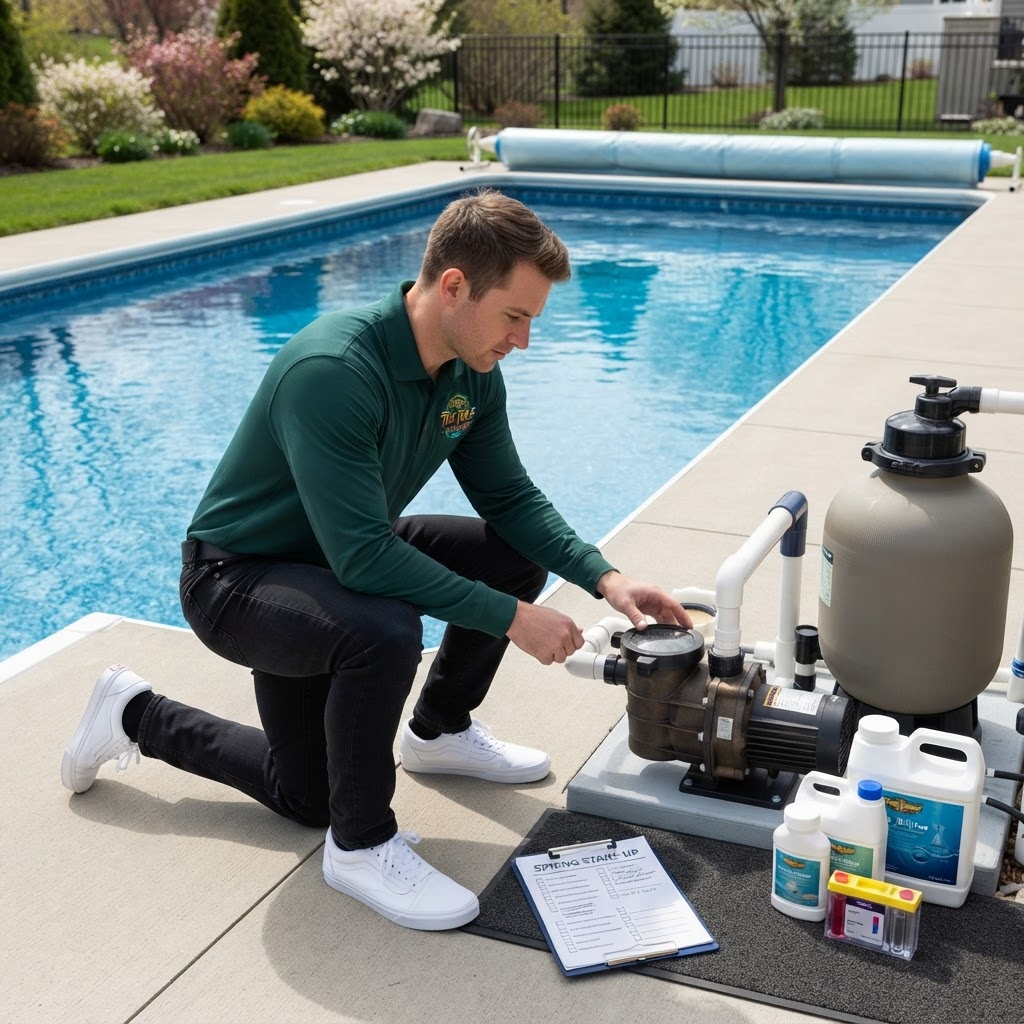
If you have a solid cover, use a cover pump to remove any standing water. Avoid dumping this water into the pool, as it is often loaded with bacteria and organic debris that will skyrocket your chlorine demand. Once dry, carefully remove the cover.
Pro Tip: Have a partner help you fold the cover "accordion-style" as you remove it. This prevents debris from falling into the clean pool water. Once removed, spread the cover out on the lawn or driveway, scrub it with a mild detergent, let it dry completely, and store it in a cool, dry place to prevent mold and rodent damage.
Phase 3: Equipment Inspection and Reassembly
During the winterizing process, several components were likely removed to prevent freeze damage. Now is the time to put the "heart" of your pool back together.
- Remove Winter Plugs: Go to your skimmers and return lines and remove the expansion plugs. If you used "Gizzmos" (skimmer compensators), remove those as well.
- Reinstall Drain Plugs: Replace the drain plugs on your pump housing, filter tank, heater, and chlorinator. Apply a thin layer of silicone lubricant to the O-rings to ensure a water-tight seal and prevent the rubber from cracking.
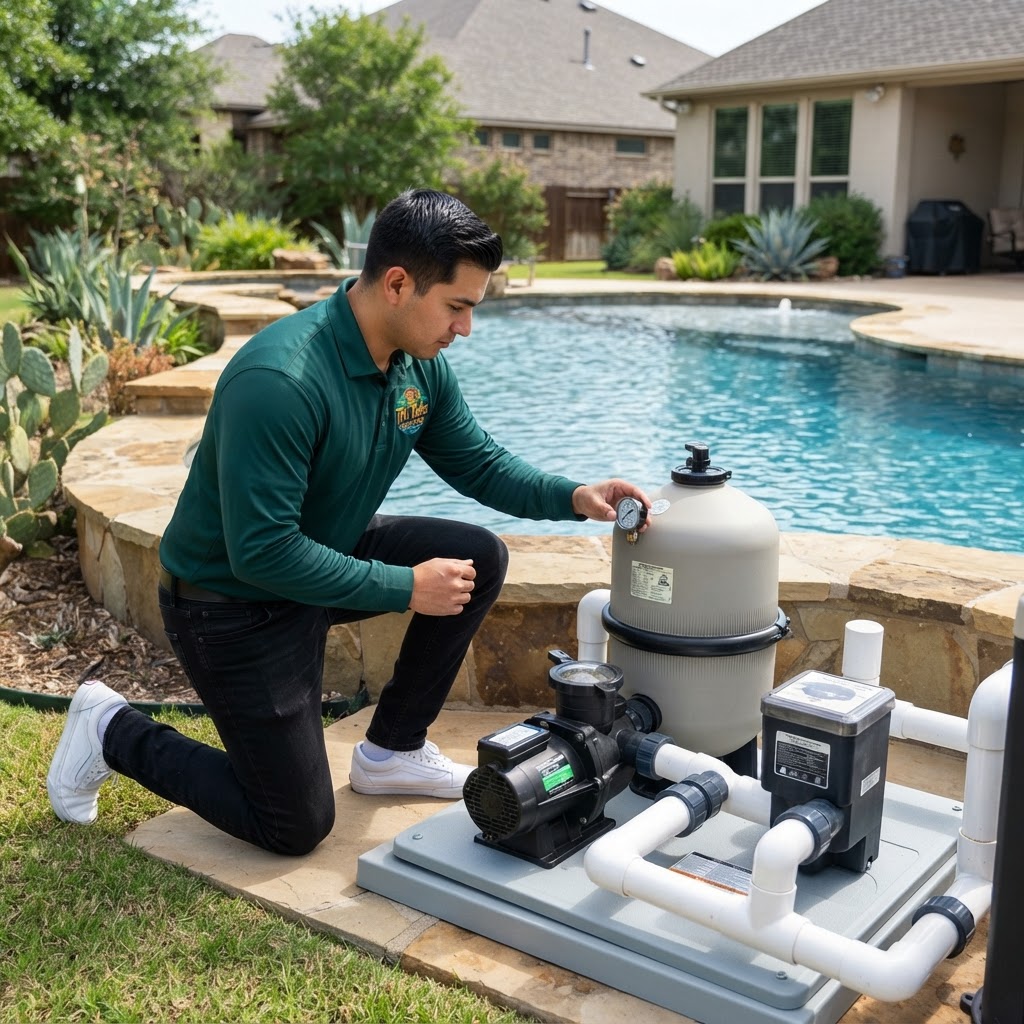
- Check the Filter: If you have a DE (Diatomaceous Earth) filter, ensure the grids are clean. For cartridge filters, inspect the elements for tears. If you have a sand filter, ensure the sand is not "channeled" or calcified.
- Inspect the Pump O-Ring: The large O-ring under the pump lid is a common source of air leaks. Clean it, lubricate it, and ensure it sits flat in the groove.
Pro Tip: Never use petroleum jelly (like Vaseline) on pool O-rings. Petroleum products degrade the rubber over time, causing them to swell and eventually fail. Always use a silicone-based lubricant.
Phase 4: Restoring Water Levels and Priming
Your pool water level likely dropped over the winter. Use a garden hose to bring the water level back up to the midpoint of the skimmer opening.
Once the water is at the proper level, it’s time to prime the pump:
- Fill the pump strainer basket with water using a hose or bucket.
- Ensure the multi-port valve is set to the "Filter" position.
- Open all suction and return valves.
- Turn the power on. It may take a few minutes for the pump to pull water from the pool and create a steady flow. Monitor the pressure gauge on your filter; if it jumps too high immediately, shut the system off and check for obstructions.
Phase 5: Deep Cleaning the Pool
With the circulation system running, you can begin removing the physical contaminants. Start by skimming the surface, then brush the walls and floor thoroughly. Brushing is a critical step often skipped by DIYers; it breaks up biofilm and algae spores that have clung to the plaster or vinyl during the off-season. Finally, vacuum the pool. If the pool is particularly dirty, vacuum "to waste" (if your filter allows) to prevent clogging your filter media.
Phase 6: Balancing the Water Chemistry
This is the most critical phase for safety and water clarity. Do not add chemicals all at once. Allow the water to circulate for at least 24 hours before your first comprehensive test to ensure the water is well-mixed.
According to CDC and APSP standards, your pool water should be maintained within these specific ranges:
- Free Chlorine: 1.0–3.0 ppm
- pH: 7.2–7.8
- Total Alkalinity: 80–120 ppm
- Calcium Hardness: 200–400 ppm
- Cyanuric Acid (CYA): 30–50 ppm
The Balancing Order:
- Total Alkalinity: Adjust this first, as it acts as a buffer for your pH.
- pH: Once alkalinity is set, adjust your pH. Chlorine is much less effective if your pH is above 8.0.
- Calcium Hardness: Crucial for protecting your pool's plaster or tile grout from erosion.
- Shocking the Pool: Even if the water looks clear, you must "shock" the pool to reach breakpoint chlorination and kill any lingering bacteria or organic matter.
Safety Notes
- Chemical Handling: Always add chemicals to water, never water to chemicals. This prevents dangerous splash-backs or exothermic reactions.
- Storage: Keep pool chemicals in a cool, dry, well-ventilated area, and never store acids and chlorine directly next to each other, as mixing their vapors can be toxic.
- Electrical Safety: Ensure your GFCIs (Ground Fault Circuit Interrupters) are tested and functioning before turning on any equipment.
When to Call a Professional
While many pool owners enjoy the DIY aspect of spring startup, some situations require a certified technician. Contact Tiki Tides Pools if you experience:
- Loud Screeching from the Pump: This usually indicates failing bearings.
- Air Bubbles in the Returns: This suggests a suction-side leak that can be difficult to locate.
- Persistent Green Water: If your water stays green despite heavy shocking, you may have a high phosphate level or high cyanuric acid levels that require professional intervention.
- Equipment Leaks: Drips around the heater or filter valves can lead to significant water loss and equipment damage.
Summary
Opening your pool is a rewarding ritual that signals the start of summer fun. By following this pool opening checklist—preparing your tools, inspecting your equipment, and meticulously balancing your water chemistry—you set the stage for a season of crystal-clear water and stress-free maintenance. Remember to monitor your chemical levels daily for the first week and keep your filtration system running 24/7 until the water is perfectly clear. Welcome back to the water!