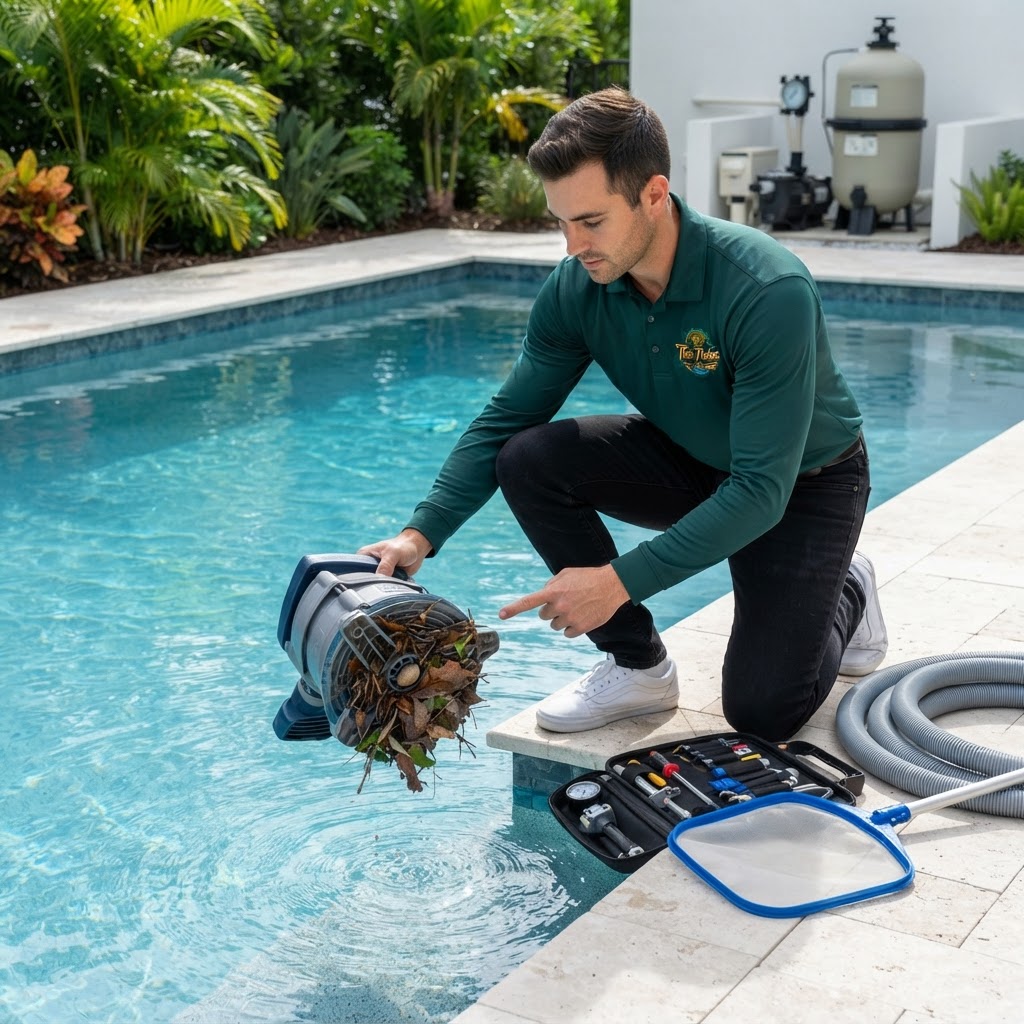
Few things cause more anxiety for a pool owner than glancing at the tile line and realizing the water level has dropped significantly overnight. You might ask yourself, "Why is my pool losing water?" While it is tempting to assume the worst, not all water loss indicates a catastrophic structural failure. In the hot, breezy climate we serve at Tiki Tides Pools, evaporation can be a major factor, but understanding the difference between environmental loss and a mechanical leak is vital for protecting your investment.
Maintaining the correct water level is not just about aesthetics; it is a critical component of your pool's health. If the water drops below the skimmer mouth, the pump can draw in air, leading to prime loss and potential motor burnout. Furthermore, constant fresh water refills can wreak havoc on your water chemistry, diluting your protective chemicals and leading to corrosive or scaling conditions. This guide will walk you through the diagnostic steps to identify the source of your water loss and how to resolve it safely.
Understanding Normal Evaporation
Before you panic, it is important to realize that every swimming pool loses some water to the atmosphere. On average, a pool can lose between 1/4 and 1/2 inch of water per day due to evaporation. Factors that increase this rate include high ambient temperatures, low humidity, and significant wind across the water surface. If you have water features like waterfalls, bubblers, or vanishing edges, your evaporation rate will be even higher due to the increased surface area exposure to the air.
Quick Reference: Signs of a Genuine Leak
- Water loss exceeding 1/2 inch in a 24-hour period.
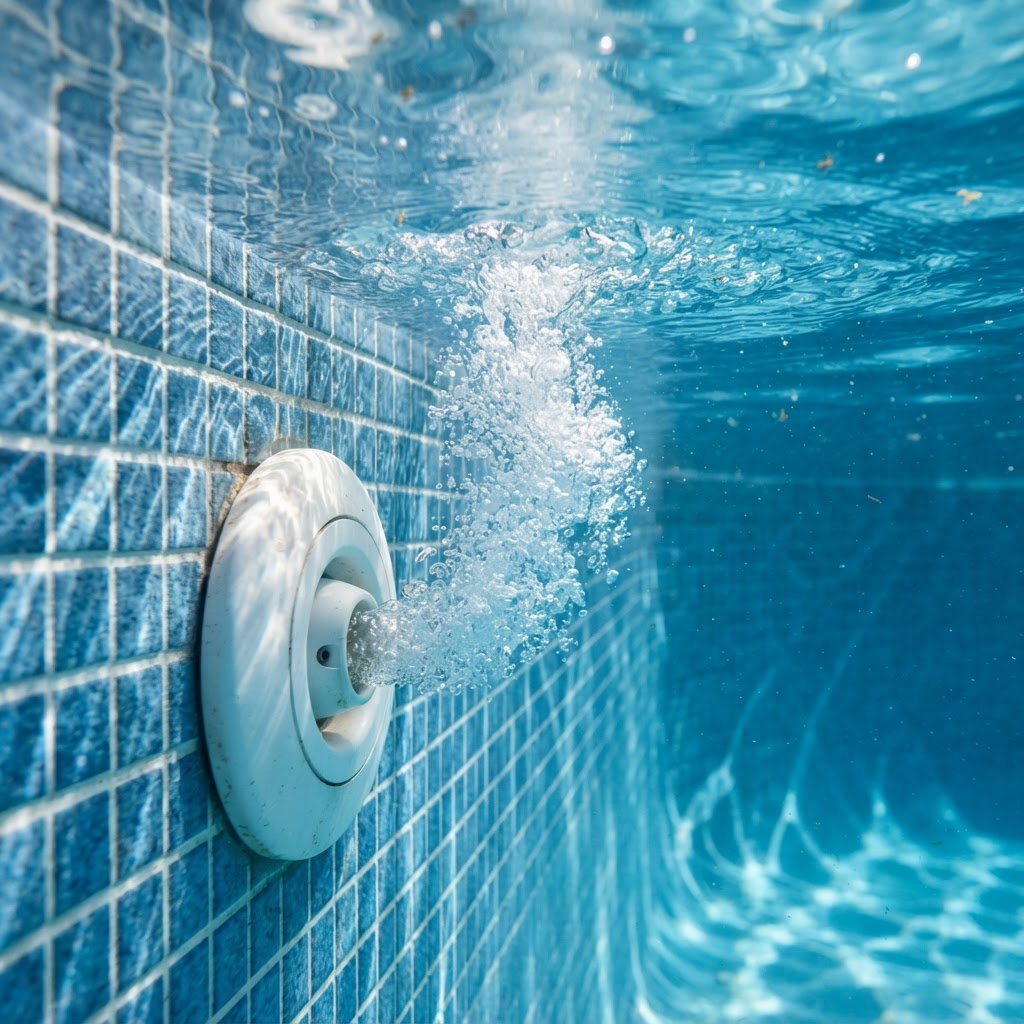
- Air bubbles appearing in the return jets while the pump is running.
- Cracks in the pool shell or pulling away of the pool deck.
- Soggy spots in the grass or landscaping surrounding the pool area.
- Frequent need to add chemicals to maintain Free Chlorine (1.0–3.0 ppm) or pH (7.2–7.8).
- Unexplained increase in your monthly water bill.
The Bucket Test: DIY Leak Detection
The most reliable way to determine if you have a leak or just high evaporation is the "Bucket Test." This simple test uses physics to compare the water loss in two environments: one exposed only to the air (the bucket) and one exposed to both the air and potential structural leaks (the pool).
- Preparation: Bring your pool water to its normal operating level (usually halfway up the skimmer opening).
- Fill the Bucket: Fill a standard 5-gallon plastic bucket with pool water to about 1 inch from the top.
- Placement: Set the bucket on the first or second step of the pool so the water inside the bucket stays the same temperature as the pool water.
- Marking: Use a waterproof marker or electrical tape to mark the water level inside the bucket. Then, mark the pool's water level on the outside of the bucket or on the pool tile.
- Observation: Turn off any auto-fill devices. Wait 24 hours without using the pool.
- Results: Measure the drop in both the bucket and the pool. If the pool water has dropped more than the bucket water, you have a leak.
Pro Tip: Perform the bucket test twice—once with the pump running and once with it off. If the water level drops faster when the pump is running, the leak is likely located on the pressure side of your plumbing system.
Common Culprits: Where the Water Goes
1. The Multiport Valve
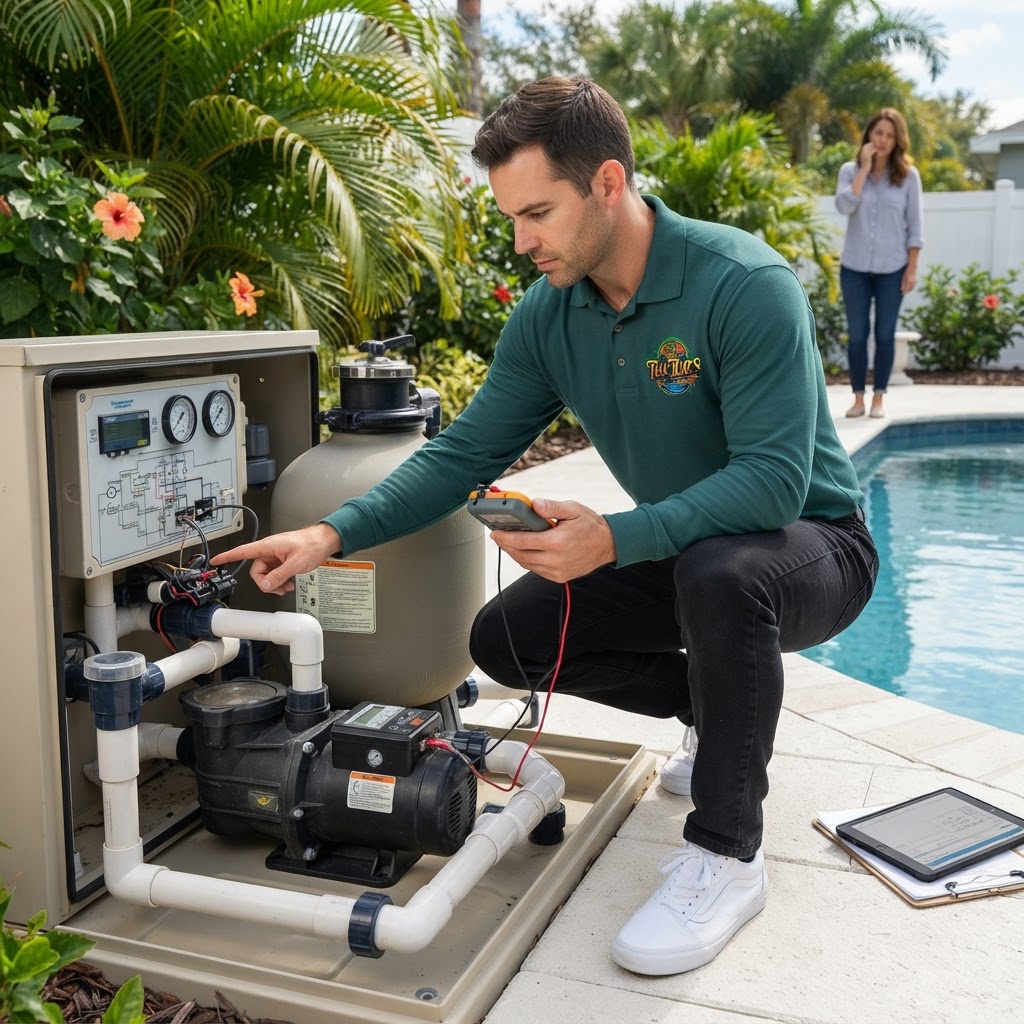
If you have a D.E. or Sand filter, the multiport valve is a frequent source of hidden leaks. The internal spider gasket can wear down, allowing water to bypass the filter and head straight down the waste line even when the valve is set to "Filter." Check the end of your backwash hose; if it is dripping while the pump is running, you've found your leak.
2. The Pump Seal
Inspect your equipment pad for standing water. A common failure point is the pump's mechanical shaft seal. If this seal fails, water will spray or drip from the bottom of the pump housing, right where the motor meets the wet end. This is a high-pressure leak that requires immediate repair to prevent motor damage.
3. Light Niches and Fittings
Pool lights are notorious for leaks. The conduit that runs from the light niche to the junction box is often not watertight. Additionally, check around return fittings and the skimmer throat where it attaches to the pool shell. Movement in the deck can cause these plastic components to crack or separate from the concrete.
Chemical Balance and Water Loss
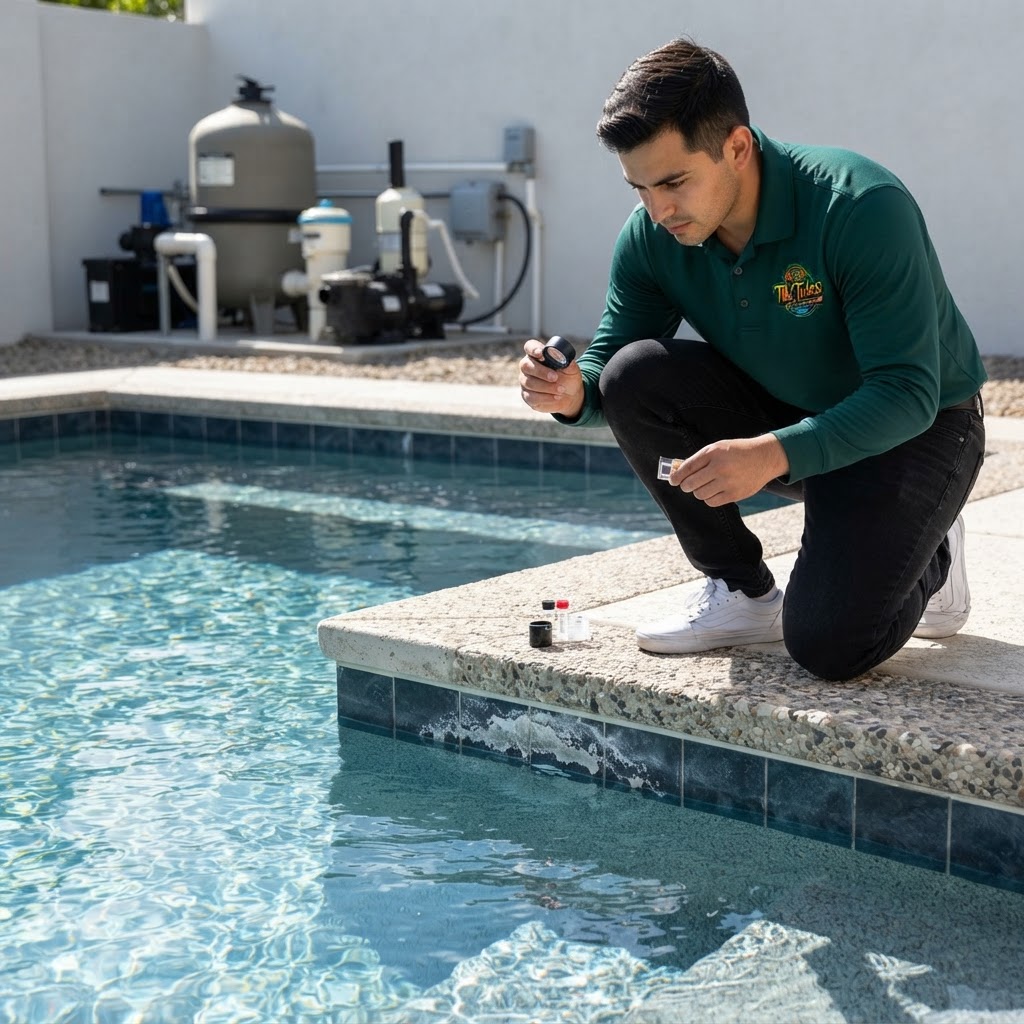
When you lose water, you are also losing the chemicals dissolved in it. Constantly adding tap water introduces new minerals and can drastically lower your Cyanuric Acid (CYA) levels, which should remain between 30–50 ppm to protect your chlorine from UV degradation. After fixing a leak, you must re-balance your water to these industry standards:
- Free Chlorine: 1.0–3.0 ppm
- pH: 7.2–7.8
- Total Alkalinity: 80–120 ppm
- Calcium Hardness: 200–400 ppm
Safety Notes
- Electrical Safety: Never handle pool lights or pump wiring while standing in water. If you suspect a leak near the equipment pad, turn off the power at the breaker before investigating.
- Chemical Handling: When re-balancing water after a leak, always add chemicals to water, never water to chemicals. Wear appropriate PPE, including gloves and eye protection.
- Structural Integrity: If you notice a significant crack in the pool shell or a large void forming under the pool deck, stay away from the area. Soil erosion from a major leak can lead to sudden ground collapse.
When to Call a Professional
While the bucket test and visual inspections are great DIY starting points, some leaks are buried deep underground or hidden behind the pool liner. You should call Tiki Tides Pools if:
- The bucket test confirms a leak, but you cannot find any surface moisture.
- You see air bubbles in the pump basket (indicates a suction-side plumbing leak).
- The pool is losing more than 2 inches of water per day.
- You suspect a leak in an underground pipe that requires specialized pressure testing equipment.
- Your pool has a vinyl liner with visible tears that are too large for a standard patch kit.
Summary
Determining why your pool is losing water requires a systematic approach. Start by ruling out evaporation with the bucket test, then move to a visual inspection of your equipment pad and multiport valve. By identifying leaks early, you save money on water bills, prevent chemical imbalances, and protect your pool's structural integrity. If the source remains a mystery, don't wait—professional leak detection can save you thousands in the long run.","meta_description":"Is your pool losing water? Learn how to distinguish between evaporation and leaks using the bucket test and troubleshooting tips from Tiki Tides Pools experts.","keywords":["pool water loss","pool leak detection","bucket test pool","pool evaporation vs leak","fixing pool leaks","Tiki Tides Pools","pool troubleshooting","swimming pool maintenance"],"tags":["Troubleshooting","Maintenance","Pool Repairs","Water Conservation"],"reading_time":6}