As the leaves begin to turn and the air takes on a crisp chill, every pool owner faces the inevitable task of shutting down their backyard oasis. Learning how to close and winterize your pool correctly is more than just a seasonal chore; it is a critical maintenance step that protects your expensive equipment from freeze damage and ensures your water remains manageable for the following year. A poorly closed pool can lead to cracked pipes, ruined pumps, and a 'swamp' of algae come springtime.
At Tiki Tides Pools, we believe that a successful spring opening begins with a meticulous winter closing. By following industry-standard protocols from the APSP and CDC, you can safeguard your pool against the harshest winter elements. This guide will walk you through the technical requirements, chemical balances, and mechanical steps necessary to put your pool to bed safely.
Why Timing is Everything
One of the most common mistakes pool owners make is closing their pool too early. If you close while the water is still warm, you create a breeding ground for algae under the cover. According to industry experts, you should wait until the water temperature is consistently below 65°F (18°C) before beginning the winterization process. At this temperature, algae growth slows significantly, allowing your winter chemicals to remain effective until the spring thaw.
Step 1: Deep Cleaning and Debris Removal
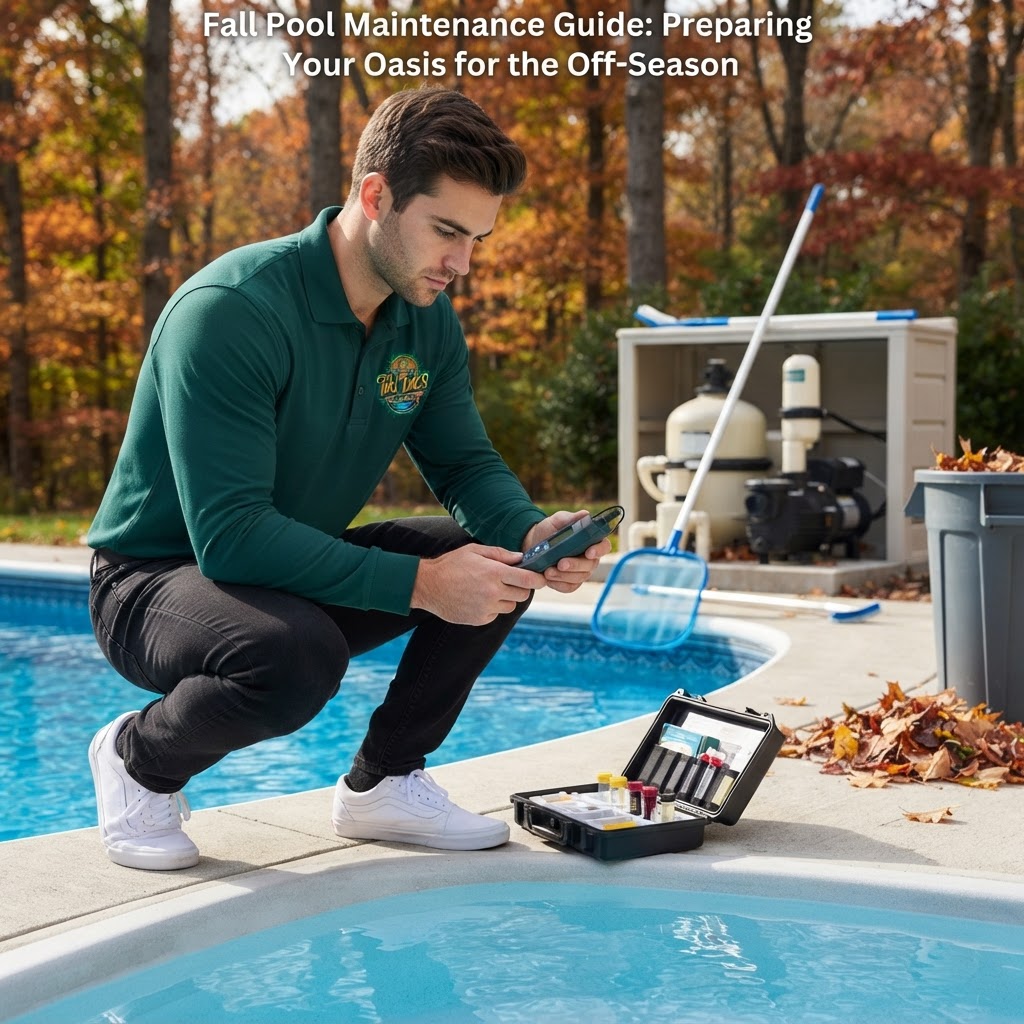
Before you touch a single chemical or valve, your pool must be spotless. Any organic matter left in the pool—leaves, acorns, or dirt—will decompose over the winter, consuming your sanitizer and potentially staining your pool's finish.
- Skim the Surface: Remove all floating debris.
- Brush the Walls: Scrub the waterline, steps, and behind ladders to loosen any clinging algae spores.
- Vacuum the Floor: Perform a thorough vacuuming. If there is significant debris, vacuum 'to waste' to avoid clogging your filter right before closing.
- Clean the Baskets: Empty the skimmer and pump baskets completely.
Step 2: Balance the Water Chemistry
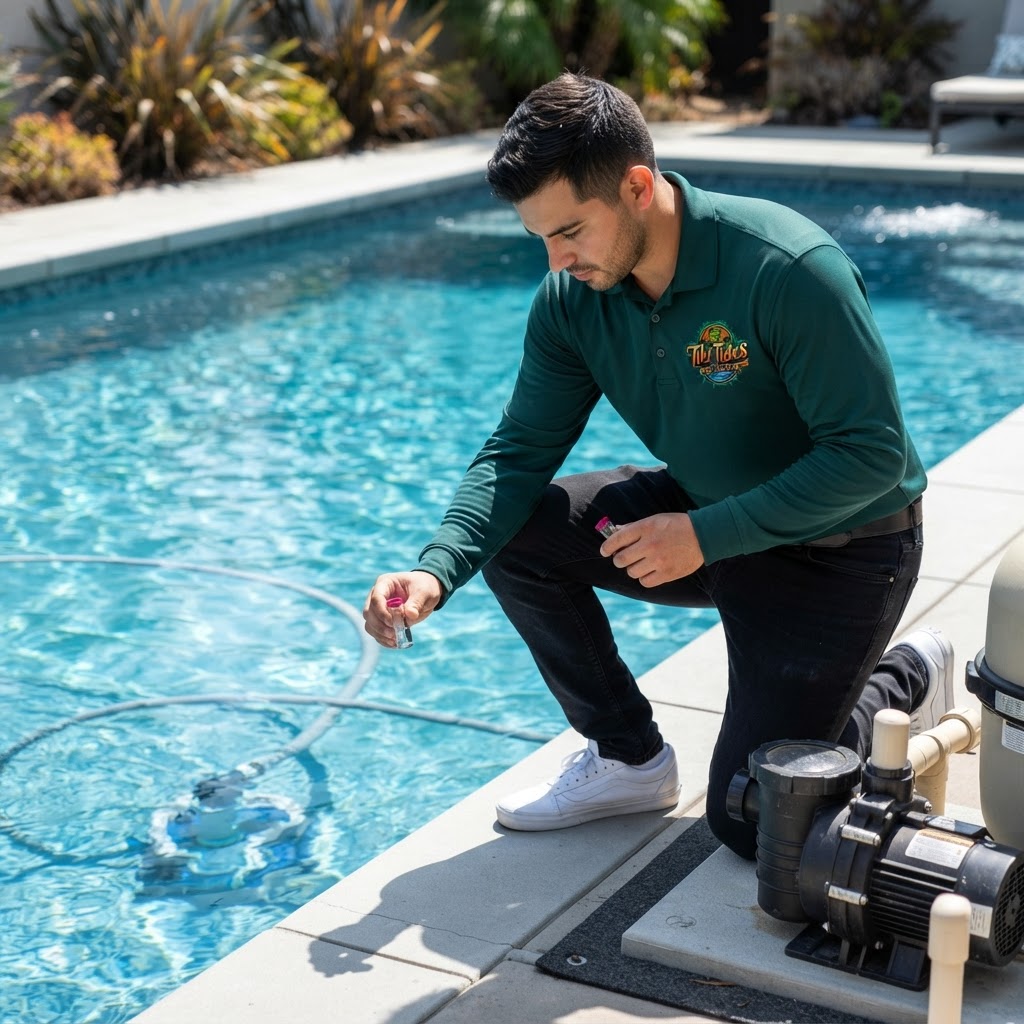
Proper water chemistry is your first line of defense against corrosion and scaling during the off-season. You should test and balance your water 3–7 days before you plan to physically close the pool. This allows the chemicals to circulate and stabilize.
Follow these industry-standard ranges for a safe and effective winterization:
- Free Chlorine: 1.0–3.0 ppm (CDC standard)
- pH: 7.2–7.8 (CDC standard)
- Total Alkalinity: 80–120 ppm
- Calcium Hardness: 200–400 ppm
- Cyanuric Acid (CYA): 30–50 ppm
Pro Tip: Always balance your Total Alkalinity first. Alkalinity acts as a buffer for your pH; if your TA is off, your pH will fluctuate wildly throughout the winter, potentially leading to etching in plaster pools or liner wrinkles in vinyl pools.
Step 3: Add Winterizing Chemicals
Once the water is balanced, it is time to add the 'heavy hitters' that will keep the water clear for months.
- Shock the Pool: Add a high-quality chlorine shock to reach 'breakpoint chlorination' and kill any remaining bacteria.
- Add Algaecide: Use a long-lasting winter algaecide. Do not add algaecide and shock at the same time, as the high chlorine level can degrade the algaecide. Wait 24 hours after shocking before adding algaecide.
- Stain and Scale Preventer: This is especially important if you have high mineral content in your water, as it prevents metal staining and calcium scaling while the pump is off.
Step 4: Lower the Water Level
The water level must be lowered to protect the tile line and skimmer from freeze expansion.
- For Mesh Covers: Lower the water to about 12–18 inches below the skimmer.
- For Solid Covers: Lower the water to about 3–6 inches below the skimmer.
If you are in a region with mild winters, you may find more specific advice in our guide on How to Prepare Your Pool for Texas Winter: The Complete Maintenance Guide.
Step 5: Drain and Protect Equipment
Water expands by approximately 9% when it freezes. If that water is trapped inside your pump, filter, or heater, it will crack the plastic or metal housing.
- Filter: Drain the filter tank. If you have a DE or cartridge filter, remove the grids or cartridges, clean them thoroughly, and store them in a dry place.
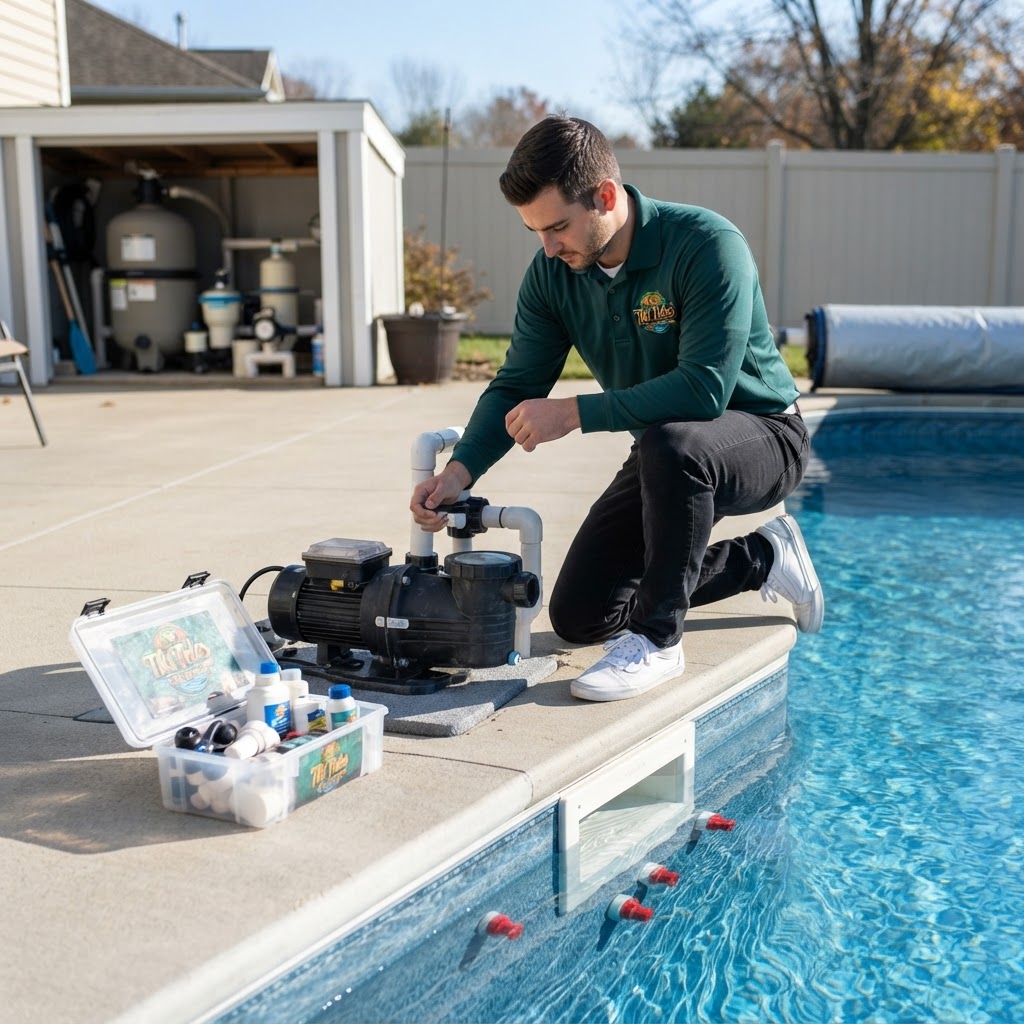
- Pump: Remove the drain plugs from the pump housing.
- Heater: Drain the heat exchanger. Use compressed air to ensure no water remains in the internal headers.
- Chlorinator: Empty any remaining tablets and drain the unit.
Step 6: Blow Out the Plumbing Lines
This is the most technical part of learning how to close and winterize your pool. You must remove all water from the underground pipes.
- Use a specialized pool blower or a high-powered shop vac to force air through the lines from the equipment pad back toward the pool.
- Once you see bubbles blowing steadily from the return jets, plug them with expansion plugs (winter plugs).
- For the skimmer, use a 'Gizzmo' or a similar expansion device that absorbs the pressure of freezing water and seals the pipe.
- Antifreeze: Add non-toxic pool antifreeze (propylene glycol) to the lines for an extra layer of protection. Never use automotive antifreeze, which is toxic to humans and damaging to pool liners.
Quick Reference: Winterization Supplies
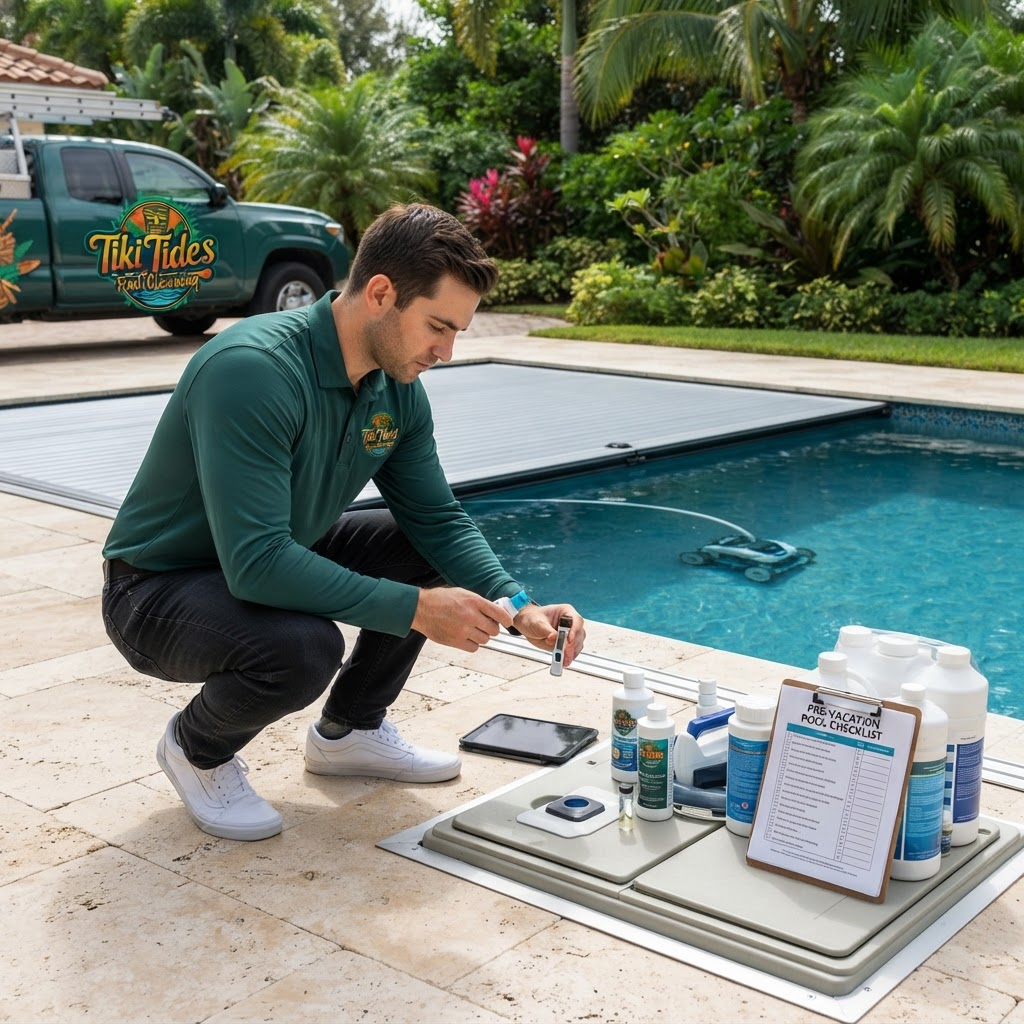
- Chemicals: Chlorine shock, winter algaecide, stain/scale sequestering agent.
- Hardware: Winter expansion plugs (various sizes), Gizzmo for skimmers, air blower.
- Protection: Winter pool cover (safety or solid), water bags (for solid covers), and a cover pump.
Safety Notes
- Chemical Handling: Always wear gloves and eye protection when handling pool chemicals. Never mix different types of chlorine together.
- Electrical Safety: Ensure the power to the pump and heater is turned off at the main breaker before draining equipment.
- Cover Safety: A standard winter tarp is NOT a safety cover. It will not support the weight of a child or pet. If safety is a concern, invest in a tension-based safety cover.
When to Call a Professional
While many homeowners successfully winterize their own pools, certain situations require a professional touch:
- Complex Plumbing: If you have multiple water features, vanishing edges, or complex in-floor cleaning systems, blowing out the lines can be difficult.
- Safety Cover Installation: Initial installation of brass anchors for safety covers requires precision drilling into your deck.
- Peace of Mind: If you are unsure about your ability to fully clear the lines, the cost of a professional closing is far less than the cost of repairing a burst underground pipe.
Summary
Learning how to close and winterize your pool is an investment in the longevity of your backyard retreat. By balancing your chemistry to CDC standards, deep cleaning the surfaces, and ensuring all water is purged from the equipment and plumbing, you prevent the most common causes of winter damage. When the weather warms up again, you'll be glad you took the time to do it right. For a head start on next year, be sure to bookmark The Ultimate Pool Opening Checklist: A Step-by-Step Spring Start-Up Guide.