Maintaining a crystal-clear swimming pool is about more than just balancing chemicals; it requires physical removal of the dirt, debris, and organic matter that settles on the floor. While automatic cleaners are popular, knowing how to vacuum a pool manually is a fundamental skill for every pool owner. A manual vacuum allows you to target specific areas of heavy buildup and is the only way to effectively clear out a pool that has turned green or accumulated heavy silt.
Left unattended, debris on the pool floor becomes a breeding ground for bacteria and algae. It also consumes your sanitizer, making it harder to maintain a safe Free Chlorine level of 1.0–3.0 ppm. By following a regular vacuuming routine, you reduce the load on your filtration system and ensure your water remains inviting and safe for swimmers.
In this guide, the experts at Tiki Tides Pools will walk you through the entire process, from equipment assembly to the final chemistry check, ensuring your pool stays in peak condition all season long.
Essential Tools for Manual Pool Vacuuming
Before you begin, gather the following equipment. Having everything pool-side will make the process much smoother.
- Vacuum Head: Weighted for concrete/plaster pools or brush-rimmed for vinyl liners.
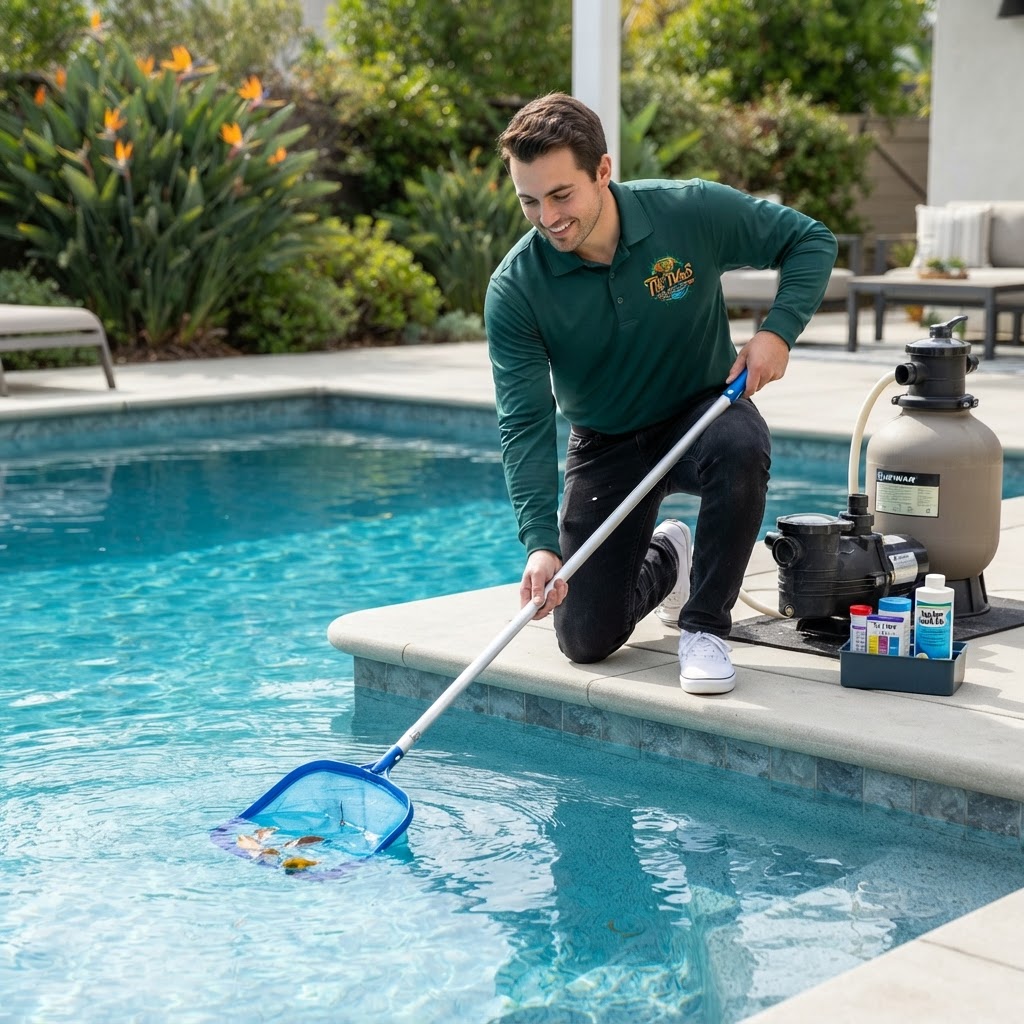
- Telescopic Pole: The standard pole used for skimming and brushing.
- Vacuum Hose: Must be long enough to reach the farthest point of the pool from the skimmer.
- Vacuum Plate (Skimmer Disk): (Optional but recommended) Allows you to connect the hose to the skimmer without removing the basket.
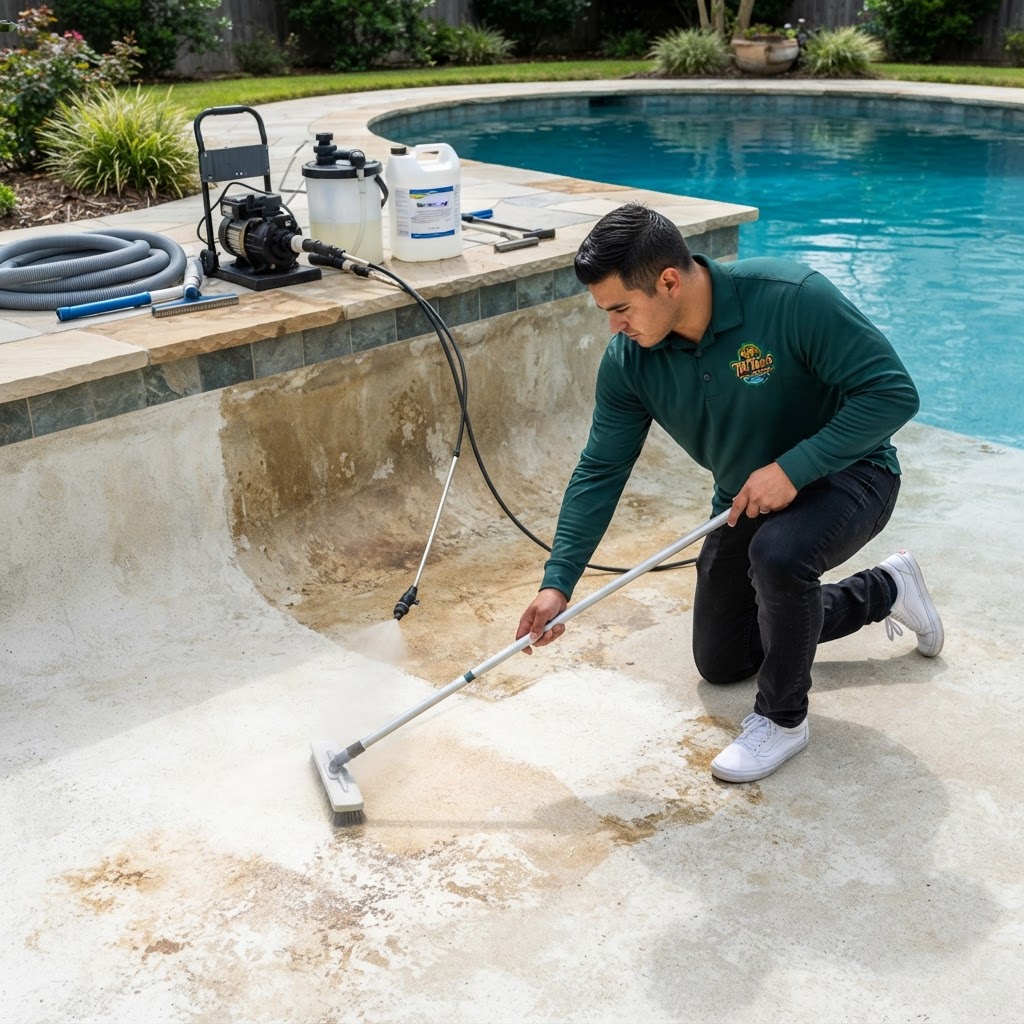
- Pool Brush: To scrub stubborn spots before or after vacuuming.
Quick Reference: Signs Your Pool Needs a Manual Vacuum
- Visible dirt, sand, or leaves on the floor.
- Water appears cloudy despite balanced chemicals.
- You recently treated the pool for algae (dead algae must be vacuumed out).
- Large amounts of sediment settled after a heavy rainstorm.
- Standard automatic cleaners are missing specific corners or steps.
Step 1: Assemble Your Equipment
Start by attaching the vacuum head to the telescopic pole. Simply slide the pole onto the handle of the vacuum head and secure it with the V-clips or pins. Next, take one end of the vacuum hose and attach it to the swivel head on the vacuum cleaner. If your hose has only one swivel end, that end must go on the vacuum head to prevent the hose from kinking as you move.
Step 2: Priming the Hose (The Most Critical Step)
One of the most common mistakes pool owners make is failing to prime the hose. If you connect a hose full of air to your skimmer, you will blow air into your pump, causing it to lose its prime and potentially damaging the equipment.
To prime the hose:
- Lower the vacuum head (attached to the pole and hose) into the water until it rests on the floor.
- Hold the other end of the hose in front of one of the return jets (where water flows back into the pool).
- The water flow will push the air out of the hose. You will see bubbles rising from the vacuum head.
- Once the bubbles stop, the hose is full of water (primed).
- Keep the hose end underwater as you move toward the skimmer to maintain the prime.
Pro Tip: If you have a large pool, you can also prime the hose by slowly feeding it vertically into the water. The weight of the water will naturally displace the air as the hose sinks.
Step 3: Connect to the Suction Source
With the hose primed and held underwater, slide the hose end through the skimmer opening (the weir) and plug it into the suction hole at the bottom of the skimmer. If you are using a vacuum plate, place it over the skimmer basket and connect the hose to the plate's port. This method is preferred as it allows the skimmer basket to catch large debris before it reaches your pump basket.
Step 4: Choose the Right Filter Setting
For routine maintenance, keep your Multiport Valve (MPV) on the "Filter" setting. However, if you are vacuuming a large amount of fine debris, dead algae, or silt, you should turn the pump off and switch the valve to "Waste."
Vacuuming to waste bypasses the filter and sends the dirty water straight out of the backwash line. This prevents the filter from clogging instantly but will lower your water level, so keep a garden hose running in the pool to compensate.
Step 5: The Vacuuming Process
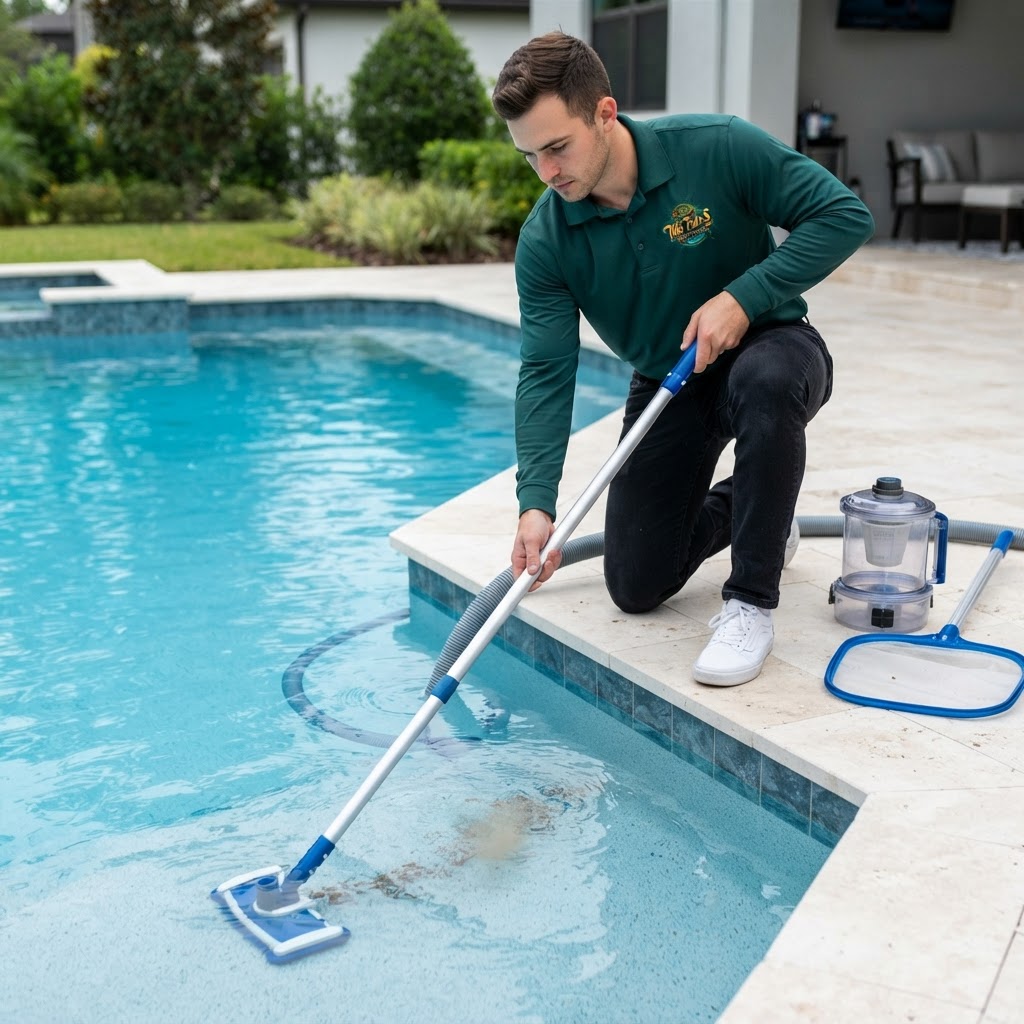
Lower the vacuum head to the floor and begin moving it in slow, deliberate passes. Imagine you are mowing a lawn; overlap each stroke slightly to ensure no debris is left behind.
- Move Slowly: Moving too fast will stir up the debris, causing it to cloud the water rather than being sucked into the vacuum.
- Start at the Deep End: Work your way toward the shallow end to avoid walking through areas you’ve already cleaned.
- Check the Suction: If suction drops, your skimmer or pump basket might be full, or your filter may need backwashing.
Post-Vacuuming Maintenance
Once the floor is clean, disconnect the hose. If you vacuumed on the "Filter" setting, check your filter pressure; if it has risen 8–10 PSI above the clean starting pressure, it is time to backwash or clean the cartridges.
It is also essential to re-test your water. Vacuuming often removes treated water (especially on the Waste setting) and can stir up microscopic particles. For a healthy pool, ensure your levels fall within these industry-standard ranges:
- Free Chlorine: 1.0–3.0 ppm
- pH: 7.2–7.8
- Total Alkalinity: 80–120 ppm
- Calcium Hardness: 200–400 ppm
- Cyanuric Acid (CYA): 30–50 ppm
Knowing How Often Should a Pool Be Cleaned? The Ultimate Maintenance Schedule will help you stay ahead of buildup and keep these levels stable.
Safety Notes
- Trip Hazards: Be mindful of the vacuum hose and telescopic pole while working around the pool deck.
- Pump Safety: Never run your pump dry. If you hear a sucking sound at the skimmer, turn the pump off immediately and re-prime the hose.
- Electrical Safety: Ensure all electrical components (pumps, lights) are properly grounded and that no extension cords are near the water while you work.
- Chemical Handling: Always add chemicals to water, never water to chemicals, and wear protective gear when adjusting levels after a deep clean.
When to Call a Professional
While vacuuming is a DIY task, some situations require expert intervention:
- Persistent Cloudiness: If the water remains cloudy 24 hours after vacuuming and balancing chemicals.
- Equipment Failure: If your pump refuses to prime or the suction is non-existent even after troubleshooting.
- Major Algae Blooms: If the pool is "black" or "swamp green," a professional "floc and vac" service may be necessary to save the water.
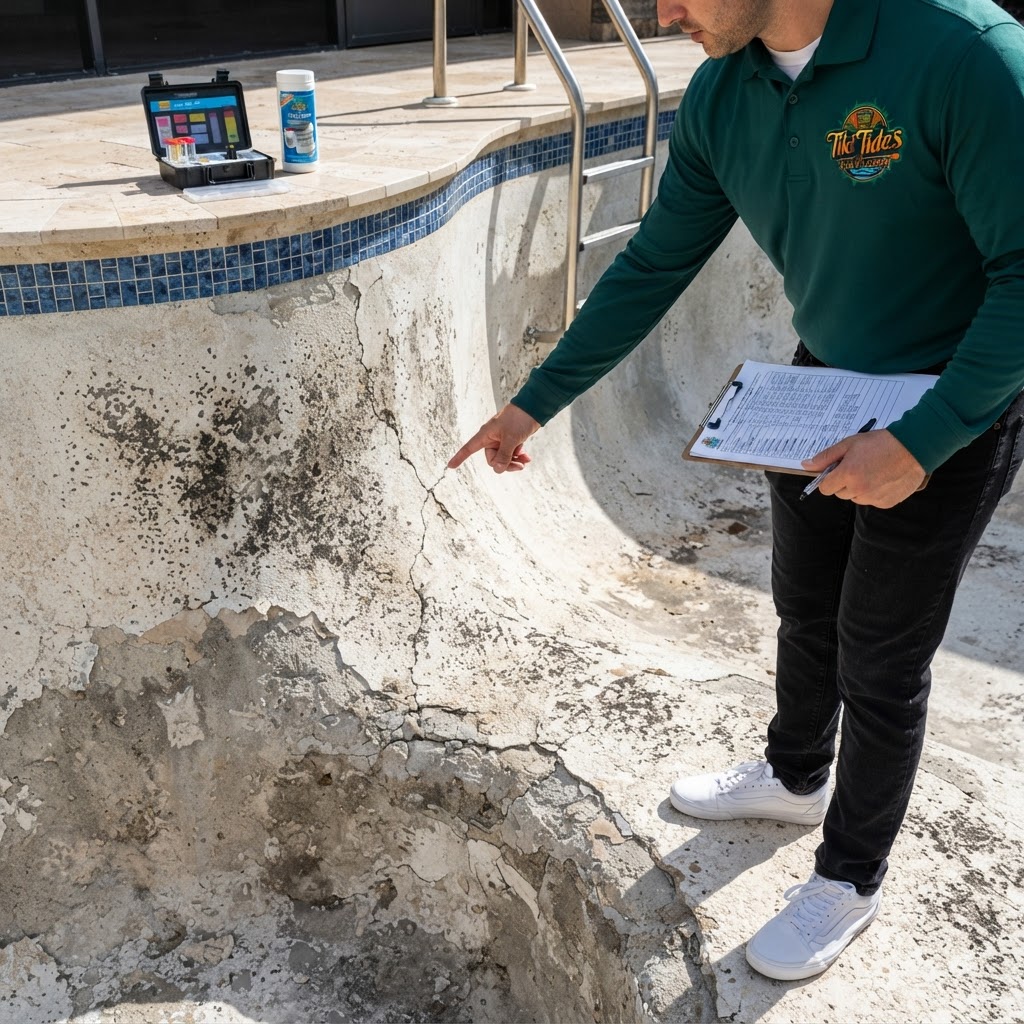
- Structural Concerns: If you notice cracks or tears in the liner while vacuuming the floor.
Summary
Learning how to vacuum a pool manually is the best way to ensure a thorough clean that automatic cleaners often miss. By properly priming your hose, moving slowly, and monitoring your filter settings, you can achieve a professional-grade finish. Regular vacuuming, combined with a consistent testing routine to maintain a pH of 7.2–7.8 and Free Chlorine of 1.0–3.0 ppm, will keep your Tiki Tides pool safe, clear, and ready for fun all summer long.