Living in a coastal or storm-prone region means that hurricane season is a reality every pool owner must face. When a major tropical system or severe thunderstorm approaches, your swimming pool becomes a significant liability if not handled correctly. High winds can turn patio furniture into projectiles, and heavy rains can shift the very foundation of your pool.
At Tiki Tides Pools, we know that preparation is the difference between a quick afternoon cleanup and thousands of dollars in structural repairs. This guide provides a comprehensive, step-by-step approach to hurricane and storm pool preparation, ensuring your backyard oasis survives the elements and remains a safe environment for your family.
The Golden Rule: Never Drain Your Pool
The most common mistake homeowners make during hurricane and storm pool preparation is draining the water. It may seem logical to empty the pool to prevent overflowing, but this can lead to a catastrophic "popped pool."
When heavy rains saturate the ground, the water table rises. This creates immense hydrostatic pressure against the bottom and sides of your pool shell. The weight of the water inside the pool acts as a counter-balance, holding the structure in place. If you remove that weight, the upward pressure from the groundwater can literally lift the pool out of the ground, cracking the shell and destroying the plumbing.
Pro Tip: If you are concerned about overflow, you may lower the water level by no more than 12–24 inches. However, ensure your pool has adequate drainage around the deck to handle the excess runoff.
Pre-Storm Checklist: Securing the Perimeter
Before the wind picks up, you must secure the area surrounding the pool. Anything not bolted down can become a dangerous missile in high-wind scenarios.
- Store Patio Furniture: Move all chairs, tables, umbrellas, and pool toys into a garage or shed.
- Do Not Sink Furniture: An old myth suggests throwing furniture into the pool to keep it from blowing away. This is dangerous; the chemicals can damage the furniture, and the furniture can tear a vinyl liner or chip a plaster finish.
- Trim Trees: Remove loose or overhanging branches that could fall into the pool or damage equipment. This is a key part of Summer Pool Maintenance: Beating the Heat for a Crystal Clear Season.
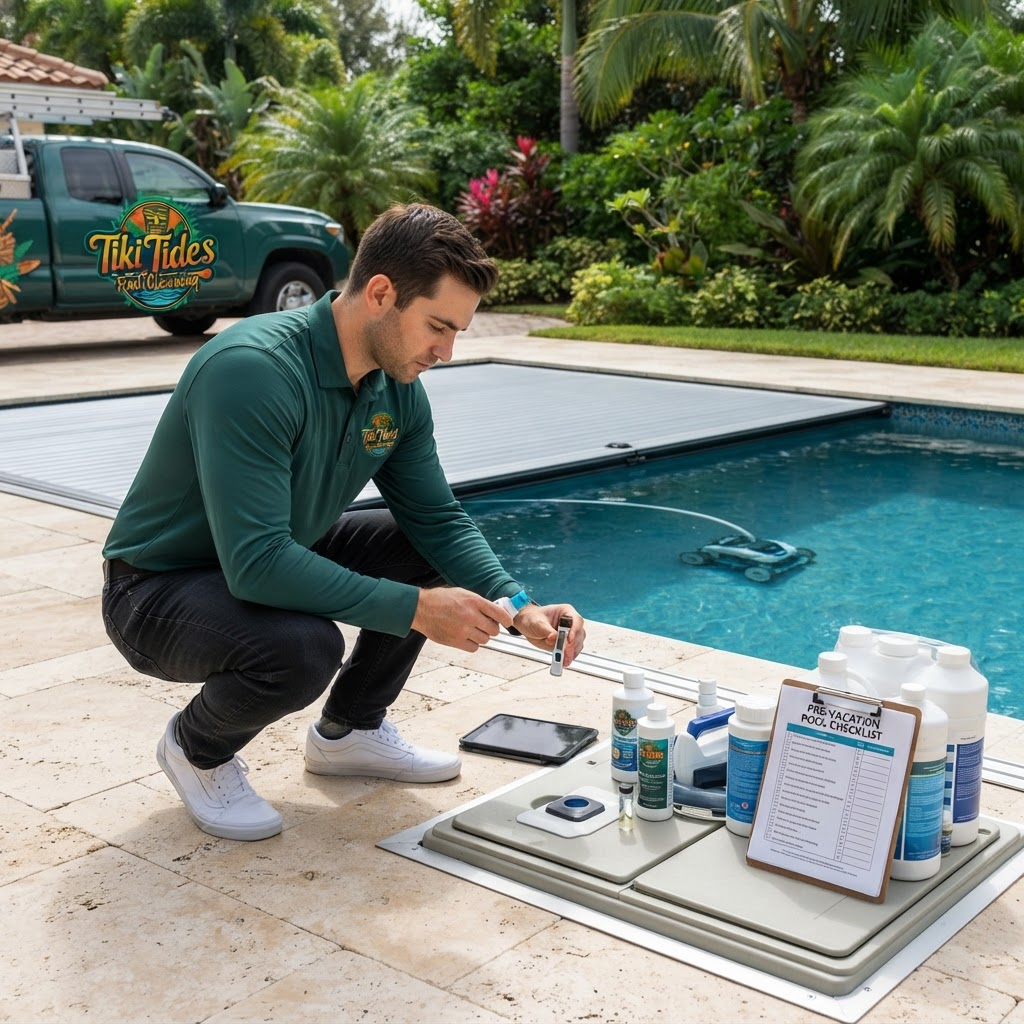
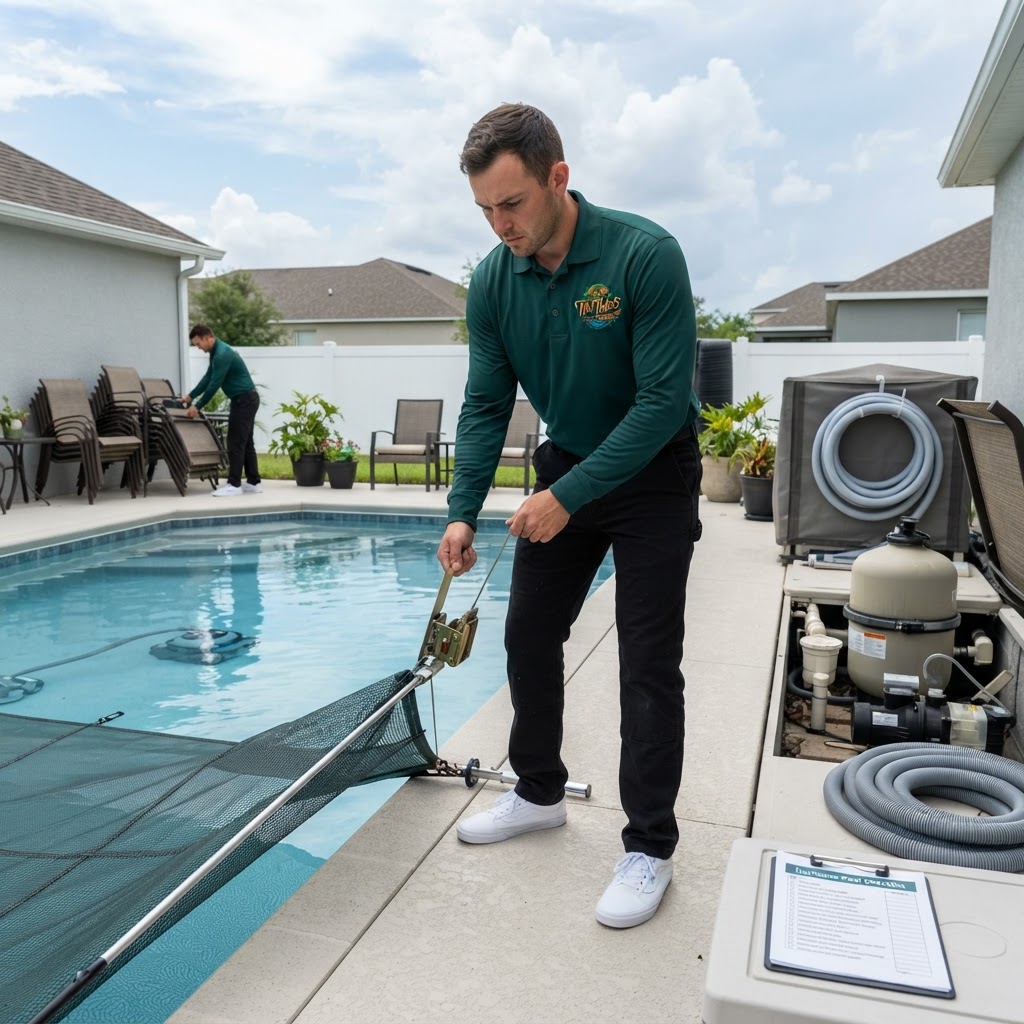
- Remove the Cover: Unless you have a specialized, high-tension hurricane cover, it is usually best to leave the pool uncovered. Solid safety covers can act like a sail in high winds, potentially ripping out the brass anchors from your deck.
Protecting Your Pool Equipment
Your pump, filter, and heater are the most expensive components of your pool system. Protecting them from electrical surges and water damage is paramount.
- Turn Off Power: Shut off all power to the pool equipment at the main circuit breaker. This prevents electrical shorts if the equipment becomes submerged.
- Wrap the Motor: If you cannot move the pump motor to high ground, wrap it tightly in waterproof plastic and secure it with duct tape or heavy-duty twine to prevent sand and water intrusion.
- Secure Loose Items: Ensure the filter tank and heater are securely bolted to the equipment pad.
Chemical Preparation and Water Balance
Storms bring more than just water; they bring organic debris, nitrogen from rain, and contaminants that can turn a pool green overnight. Proper chemical balancing before the storm hits will make the post-storm recovery much easier.
According to CDC and APSP standards, you should aim for these ranges before the storm:
- Free Chlorine: 1.0–3.0 ppm (Consider "super-chlorinating" or shocking the pool to 10.0 ppm just before the storm to combat the influx of organic matter).
- pH: 7.2–7.8
- Total Alkalinity: 80–120 ppm
- Cyanuric Acid (CYA): 30–50 ppm
By raising your chlorine levels slightly above the standard 3.0 ppm before the power goes out, you provide a buffer that prevents algae growth while the filtration system is offline. Much like how you would Prepare Your Pool for Texas Winter, stabilizing the water chemistry is your first line of defense against environmental changes.
Post-Storm Recovery Steps
Once the storm has passed and it is safe to go outside, follow these steps to restore your pool:
- Check for Electrical Hazards: Do not stand in water while touching electrical components. Ensure the equipment pad is dry before restoring power.
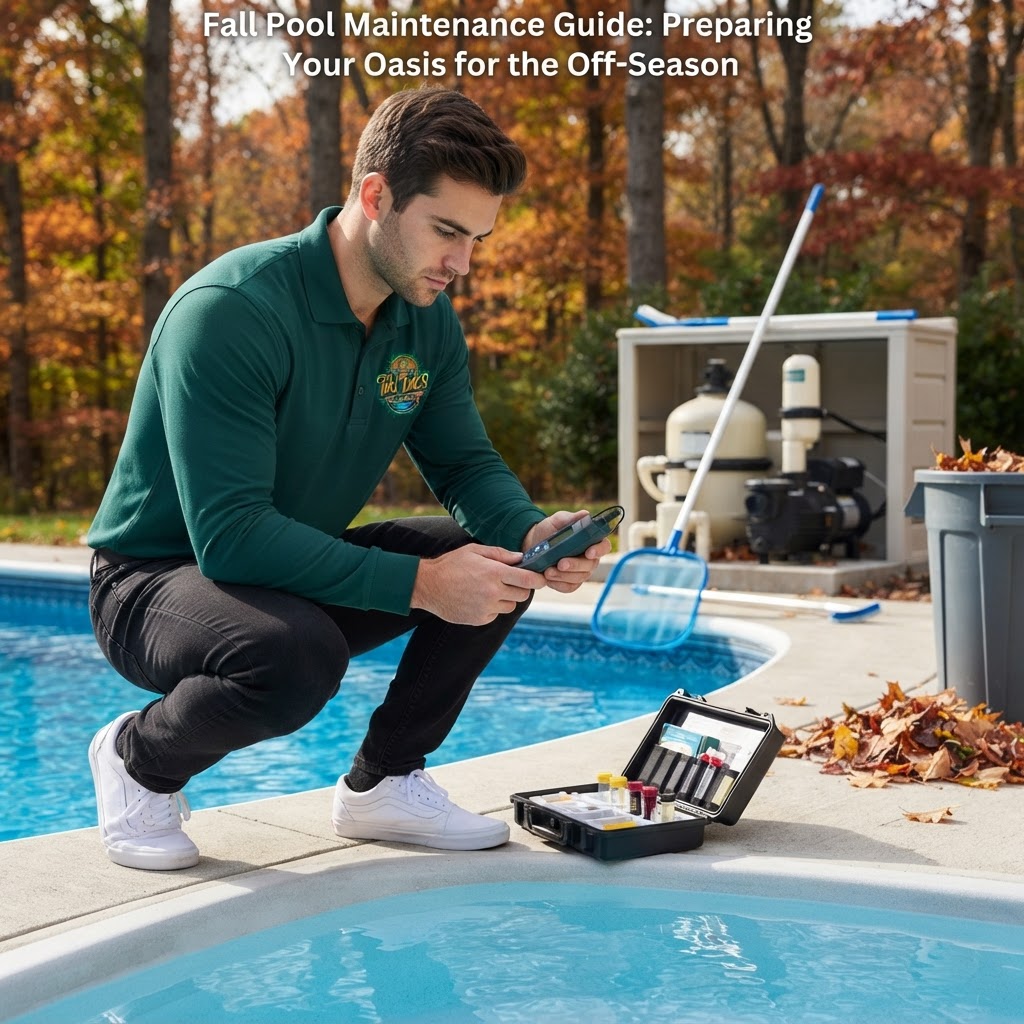
- Remove Large Debris: Use a leaf rake or net to remove branches and large debris before they can stain the pool floor.
- Clean the Skimmer and Pump Baskets: These will likely be full of small debris that can choke the flow of water.
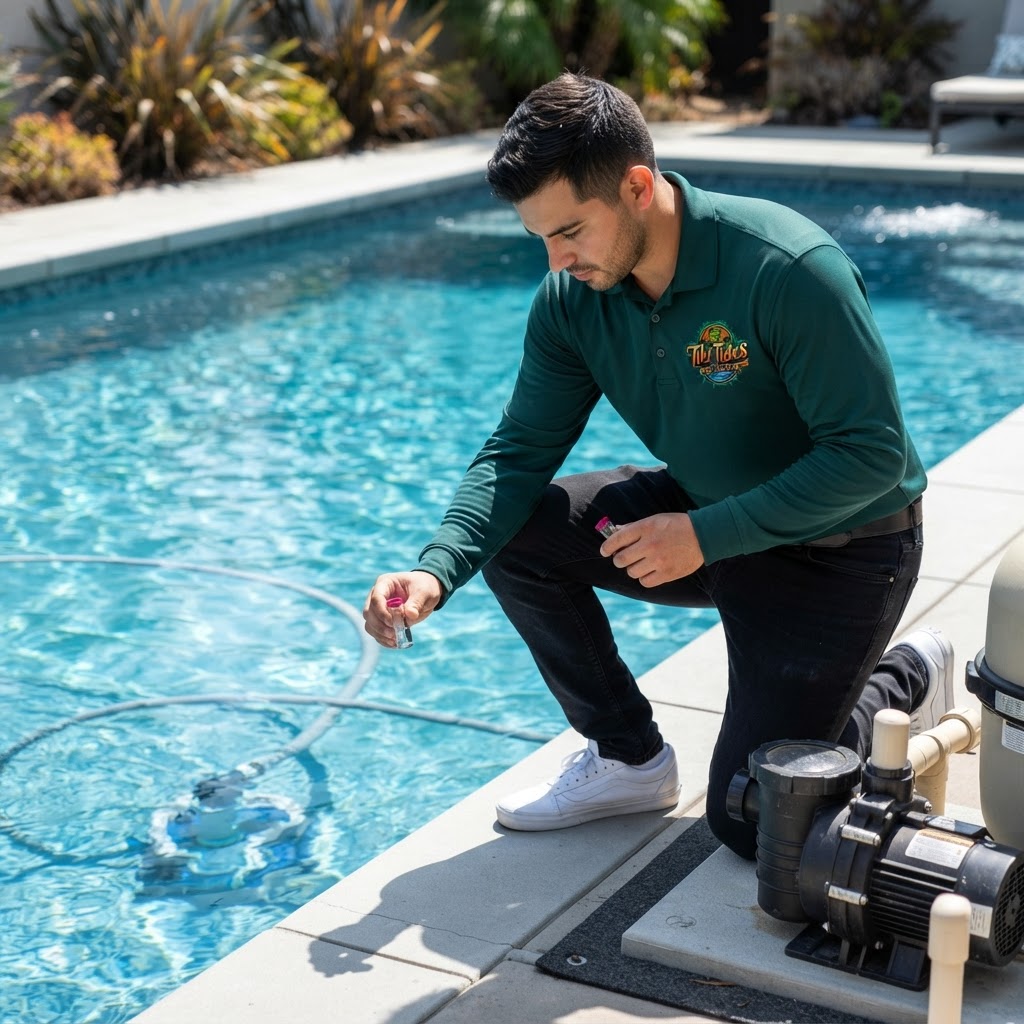
- Test and Balance: Stormwater is often acidic and will lower your pH and Alkalinity. Test the water immediately and adjust to reach the safe ranges mentioned above.
Safety Notes
- Electrical Safety: Never attempt to work on pool equipment during a storm or while standing in standing water.
- Chemical Handling: Always wear gloves and eye protection when handling pool shock or acid. Never mix different types of chlorine together.
- Contaminated Water: If the pool was flooded by a nearby river or storm surge, the water may contain harmful bacteria. Do not allow anyone to swim until the water has been professionally tested and sanitized.
When to Call a Professional
While most hurricane and storm pool preparation can be done by the homeowner, some situations require expert intervention. Contact Tiki Tides Pools if:
- Your equipment was fully submerged in water.
- The pool shell shows signs of shifting or cracking.
- The water remains cloudy or green despite heavy shocking.
- You suspect a leak in the underground plumbing lines.
Summary
Hurricane and storm pool preparation is about mitigating risk. By keeping the pool full, securing loose items, and protecting your electrical equipment, you can significantly reduce the potential for storm damage. Remember to stay patient during the cleanup process—restoring the chemical balance (pH 7.2–7.8 and Chlorine 1.0–3.0 ppm) is essential before anyone returns to the water. Stay safe, and let the experts at Tiki Tides Pools help you navigate the recovery if the storm proves too much for a DIY fix.