When most pool owners think about water chemistry, they immediately focus on chlorine levels or the constant battle with pH. While those are vital, there is a silent partner in water balance that can determine the actual lifespan of your pool's surface and equipment: Calcium Hardness. Neglecting this metric is one of the most common ways to accidentally cause thousands of dollars in structural damage.
Calcium hardness refers to the sum of all dissolved calcium in your pool water. Think of your pool water as a liquid sponge. If the water doesn't have enough calcium, it becomes "hungry" and will aggressively pull minerals from your pool’s plaster, grout, and stone surfaces to satisfy its appetite. Conversely, if the water is over-saturated with calcium, it will spit the excess out, resulting in ugly, abrasive white crust known as scale. Understanding how to maintain the sweet spot is essential for any long-term pool maintenance plan.
The Ideal Range for Calcium Hardness
For most residential swimming pools, the industry standard for calcium hardness is 200–400 ppm (parts per million).
While some variations exist based on your pool's finish (vinyl liners can sometimes tolerate slightly lower levels, whereas pebble or plaster finishes require the higher end of the range), staying within this window ensures your water is neither corrosive nor scale-forming. To keep your pool in peak condition, you should also be monitoring your other core levels as part of a Master Your Water Chemistry routine:
- Free Chlorine: 1.0–3.0 ppm
- pH: 7.2–7.8
- Total Alkalinity: 80–120 ppm
- Cyanuric Acid (CYA): 30–50 ppm
Low Calcium Hardness: The Danger of Etching
When your calcium hardness drops below 200 ppm, your pool water becomes corrosive. This is often referred to as "soft water." While soft water is great for your hair and skin in a shower, it is devastating for a swimming pool.
As the water seeks to balance itself, it begins a process called etching. It leaches calcium directly out of the plaster, pebble finish, or tile grout. This results in pitting, roughness, and permanent staining. If you notice your pool walls feeling like coarse sandpaper, or if you see white streaks running down your colored plaster, you are likely witnessing the effects of low calcium hardness.
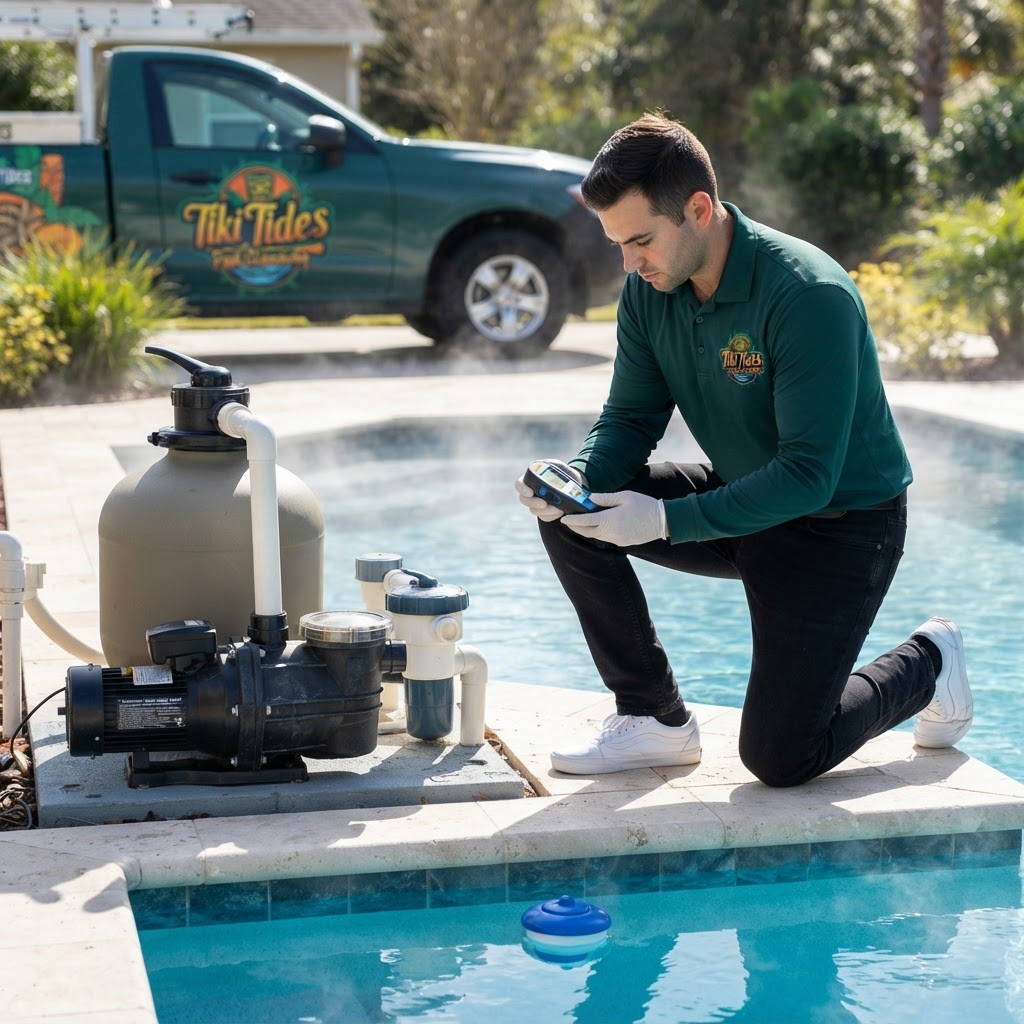
Furthermore, corrosive water doesn't stop at the walls; it can also attack metal components in your heater and pump, leading to premature equipment failure. Ensuring your Total Alkalinity is balanced can help stabilize the environment, but it cannot replace missing calcium.
High Calcium Hardness: The Battle Against Scale
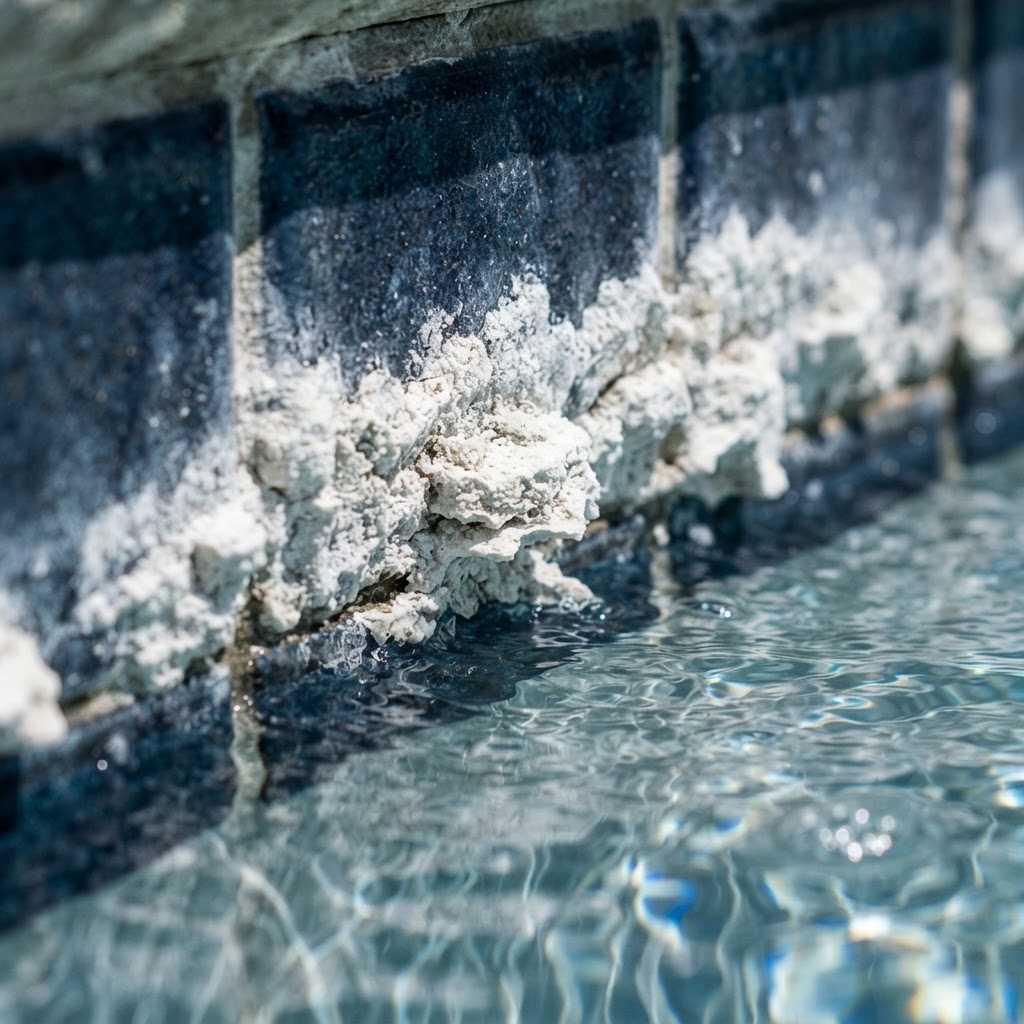
On the other end of the spectrum is "hard water," where calcium levels exceed 400–600 ppm. When the water can no longer hold the dissolved calcium, it begins to deposit onto surfaces. This is known as calcium scaling.
Signs of high calcium hardness include:
- White Crusty Deposits: Usually appearing at the waterline or on pool tile.
- Cloudy Water: Excess calcium can remain suspended in the water, giving it a milky appearance.
- Rough Surfaces: Scale can form on the floor and walls, creating a sharp, uncomfortable texture.
- Heater Inefficiency: Scale acts as an insulator. When it builds up inside your heater’s heat exchanger, it forces the unit to work harder, eventually causing it to burn out.
High calcium is often exacerbated by high pH levels. If your pH spikes, the calcium is even more likely to fall out of solution. Learning how to balance your pool's pH levels is your first line of defense against scaling when your hardness levels are on the high side.
How to Test and Adjust Calcium Hardness
Tools Needed
- A high-quality liquid reagent test kit (e.g., Taylor K-2006).
- Calcium Chloride (to raise levels).
- A bucket for pre-dissolving chemicals.
- A measuring cup.
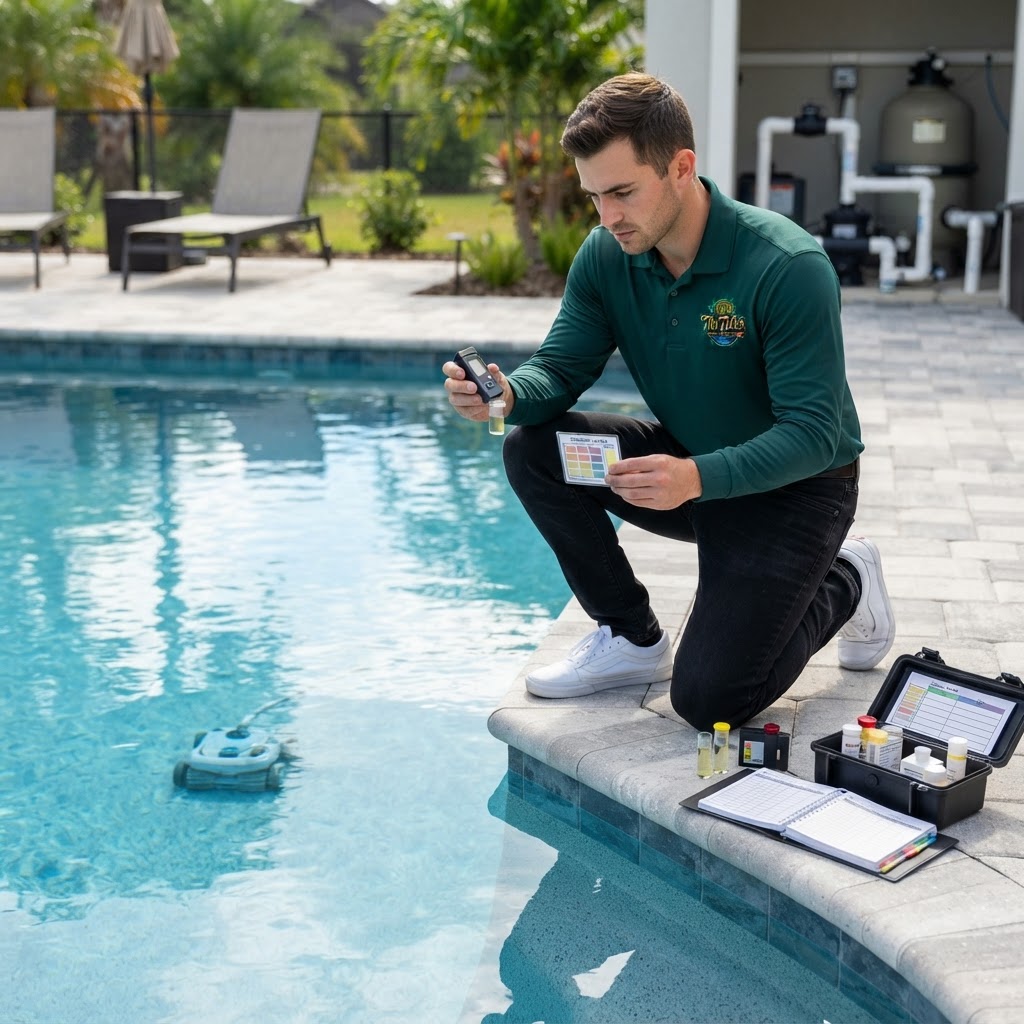
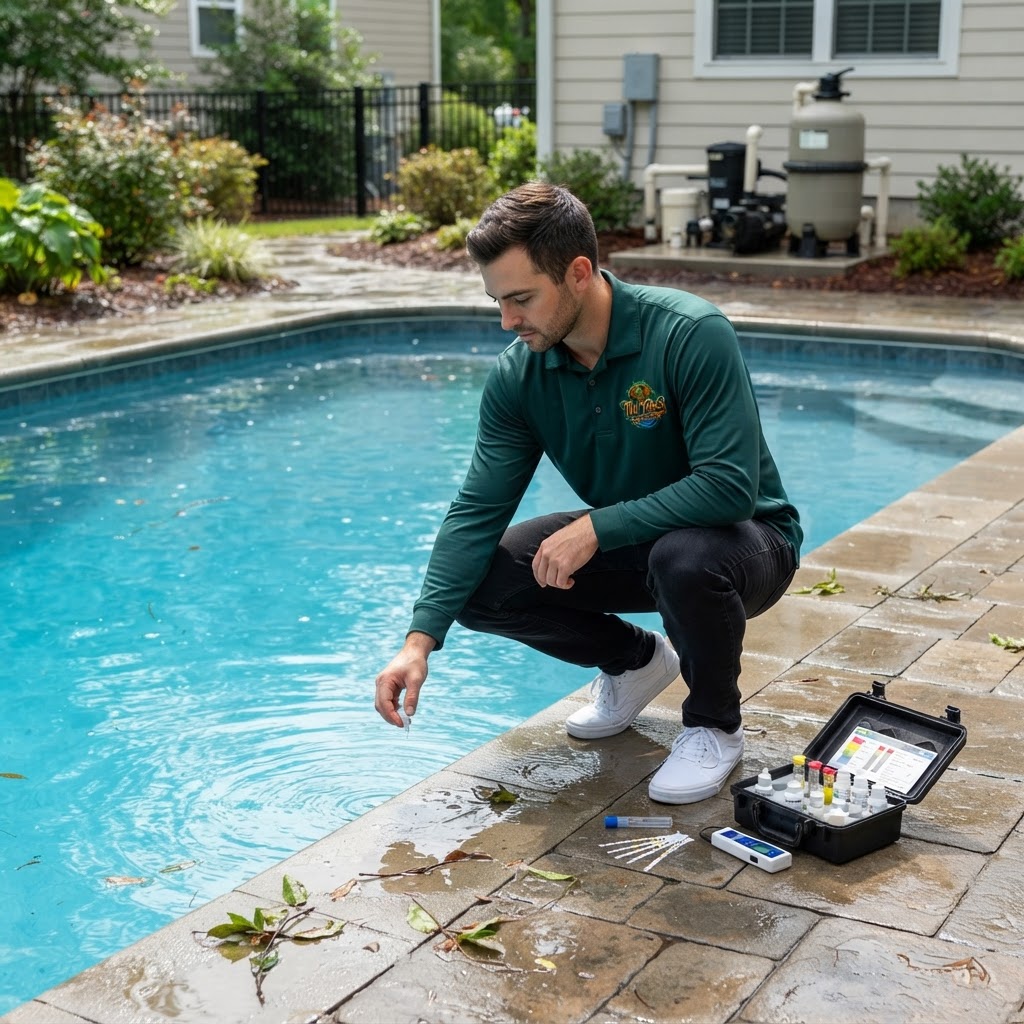
Step 1: Testing
Always use a liquid reagent kit for calcium hardness, as test strips are notoriously inaccurate for this specific measurement. Follow the instructions to determine your current ppm.
Step 2: Raising Calcium Hardness
If your level is below 200 ppm, you need to add calcium chloride.
- Calculate your pool volume.
- Refer to the product label to determine how much calcium chloride is needed to reach your target (usually 250-300 ppm).
- Pro Tip: Always pre-dissolve calcium chloride in a bucket of water before adding it to the pool. Note that the bucket will get warm—this is a normal exothermic reaction.
- Pour the solution around the perimeter of the deep end with the pump running.
Step 3: Lowering Calcium Hardness
Lowering calcium is more difficult than raising it because calcium does not evaporate.
- Partial Drain and Refill: This is the most effective method. If your source water has lower calcium than your pool, draining a portion of the pool and refilling it will dilute the concentration.
- Flocculants: In extreme cases of cloudiness, a flocculant can help clump calcium so it can be vacuumed to waste.
- Scale Sequestrants: These chemicals don't remove calcium, but they keep it "locked" in the water so it cannot form scale on your surfaces.
Pro Tip: If you live in an area with naturally hard tap water (like parts of the Southwest or Florida), avoid using Calcium Hypochlorite (Cal-Hypo) as your primary shock. Cal-Hypo adds a small amount of calcium every time you use it. Opt for Liquid Chlorine instead to keep your hardness levels stable.
Quick Reference: Signs of Calcium Issues
- Low Calcium (Etching): Pitted plaster, thinning grout, metal corrosion, rough floor.
- High Calcium (Scaling): White ring on tiles, cloudy water, crystalline deposits on equipment, reduced filter flow.
Safety Notes
- Protective Gear: Always wear gloves and eye protection when handling calcium chloride.
- Chemical Storage: Store calcium chloride in a cool, dry place. It absorbs moisture from the air, which can cause it to clump and become less effective.
- Mixing Rules: Never mix different pool chemicals together in the same bucket. Always add the chemical to the water, never water to the chemical.
When to Call a Professional
Managing calcium hardness can be tricky, especially if you are dealing with significant scaling or structural etching. You should call the experts at Tiki Tides Pools if:
- Heavy Scale Buildup: Professional acid washing or bead blasting may be required to remove thick calcium deposits from tile and stone.
- Heater Issues: If you suspect scale has clogged your heater's internal components.
- Structural Repair: If etching has caused deep pits in your plaster that require resurfacing.
- Complex Balancing: If you cannot seem to get your water to clear up despite balanced pH and Alkalinity.
Summary
Calcium hardness is the foundation of structural pool care. By maintaining a range of 200–400 ppm, you protect your plaster from etching and your equipment from scaling. Test your levels monthly, keep your pH in check, and remember that water balance is a holistic process. A little attention to your calcium levels today can save you from a massive renovation bill tomorrow.
Related Reading
- Cyanuric Acid Explained: Are You Over-Stabilizing Your Pool?
- Chlorine vs Bromine: Which Sanitizer Is Right for Your Pool?
- Total Alkalinity: Your Pool's pH Bodyguard
- Master Your Water: The Ultimate Guide to Pool Chemistry for Beginners
- Master Your Water Chemistry: How to Balance Your Pool's pH Levels Like a Pro