Your pool's filtration system is its lifeblood, and the pump is the heart that keeps everything moving. However, unlike a garden hose that starts flowing the moment you turn the tap, a pool pump is a centrifugal system that often requires a little help to get started. This process is called "priming."
Priming your pool pump is the act of manually filling the pump housing with water to create the vacuum necessary to pull water from the pool. If your pump is full of air, it cannot create suction. Running a pump "dry" for more than a minute or two can cause friction heat to melt internal seals, warp the plastic housing, and ultimately lead to a total motor failure. Understanding how to prime a pool pump correctly is one of the most essential skills for any pool owner.
In this guide, we will walk you through the professional steps to safely prime your pump, troubleshoot common flow issues, and ensure your equipment stays in peak condition for years to come.
Why Does a Pool Pump Lose Its Prime?
Before we jump into the mechanics, it is important to understand why this happens. Generally, pool pumps lose prime when air enters the system. This can occur after cleaning your pool skimmer, backwashing the filter, or if the water level in the pool drops below the skimmer opening. Occasionally, a leak in the suction-side plumbing (between the pool and the pump) can also introduce air.
Quick Reference: Signs Your Pump Needs Priming
- Visible Air: You see a large pocket of air through the clear pump lid.
- Low Pressure: The pressure gauge on your filter tank reads significantly lower than its normal operating range (usually 10-20 PSI).
- No Flow: There is little to no water movement at the return jets in the pool.
- Loud Grinding or Humming: The pump sounds different, often higher-pitched or strained, because it is spinning air instead of water.
Tools and Materials Needed
- A garden hose (connected to a reliable water source).
- A bucket (optional, if a hose isn't nearby).
- Pool-grade silicone lubricant (for the pump lid O-ring).
- Basic hand tools (usually not required, but helpful for stubborn lids).
Step-by-Step: How to Prime Your Pool Pump
Follow these steps carefully to ensure you don't damage your equipment or create a safety hazard.
1. Turn Off the Power
Safety first. Navigate to your pool’s breaker panel or timer and turn the pump completely off. Never attempt to open the pump lid while the motor is running, as this can cause a sudden release of pressure or vacuum suction that could lead to injury.
2. Relieve the Pressure
Locate the air relief valve on top of your pool filter tank. Turn it counter-clockwise to open it. You will likely hear a hiss of air escaping. Keep this valve open throughout the priming process; it allows the air trapped in the lines to be pushed out as water fills the system.
3. Adjust Your Valves
If your pool has multiple suction lines (such as a main drain and two skimmers), it is often easier to prime the pump by focusing the suction on one line. Close the main drain valve and one skimmer, leaving only the closest skimmer line open. This concentrates the vacuum power on a single pipe.
4. Open the Pump Lid and Clean the Basket
Unscrew the pump lid. Take this opportunity to remove the pump basket and clear out any debris like leaves or twigs. Even a small amount of debris can restrict flow and make priming more difficult. Rinse the basket with your hose before reinserting it.
5. Fill the Pump with Water
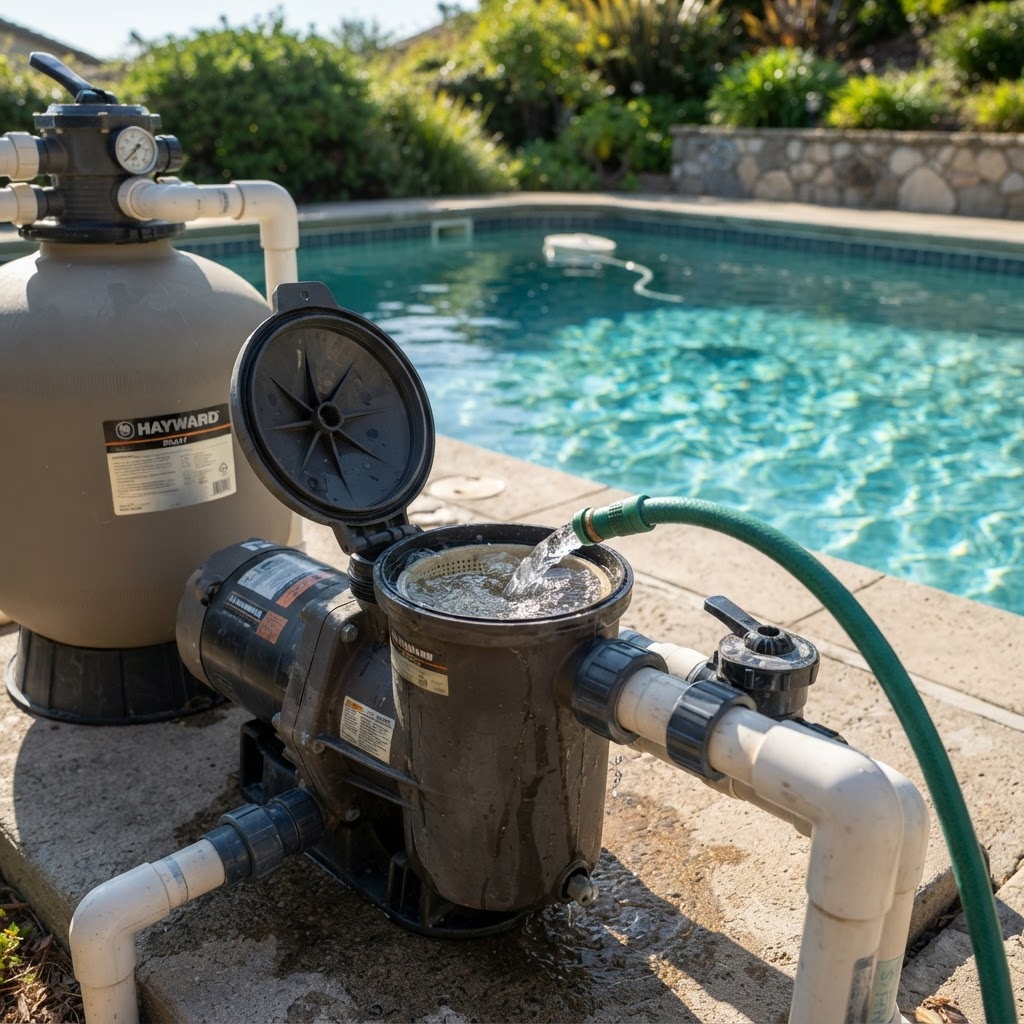
Insert your garden hose into the pump housing (the pot where the basket sits). Turn on the water and let it fill the housing until it overflows. This displaces the air in the pump and the suction-side plumbing. If the water drains away immediately, you may have a check valve issue or a deep air pocket, but usually, the housing should stay relatively full.
6. Inspect and Lubricate the O-ring
Check the large rubber O-ring under the pump lid. It should be free of cracks and debris. Wipe it clean and apply a thin layer of pool-grade silicone lubricant. A dry or cracked O-ring is the #1 cause of "suction-side air leaks" that prevent a pump from staying primed.
7. Seal the Lid and Restart
Replace the pump lid and tighten it hand-tight. Do not overtighten with tools, as you may crack the lid or the housing. Ensure the air relief valve on the filter is still open. Flip the power back on. You should see water splashing against the lid almost immediately.
8. Monitor and Close the Air Valve
Watch the air relief valve on the filter. Air will continue to hiss out. Once a steady stream of water shoots out of the valve, close it tightly. Your pump is now primed! Check the return jets in the pool to ensure strong flow.
Pro Tip: If the pump doesn't catch its prime within 60-90 seconds, turn the power off and repeat steps 5 through 7. Running the pump for longer than two minutes without water flow can cause permanent damage to the shaft seal.
Troubleshooting: Why Won't It Stay Primed?
If you follow these steps and the water level in the pump basket continues to drop, you likely have an air leak. Common culprits include:
- Low Pool Water: If the water is below the midpoint of the skimmer, the pump will suck in air.
- Loose Pump Lid: Ensure the lid is seated correctly and the O-ring is lubricated.
- Leaky Drain Plugs: Most pumps have two small drain plugs near the bottom. If these are loose, air will enter.
- Plumbing Cracks: Small cracks in the PVC pipes on the suction side can draw in air like a straw with a hole in it.
If you have a modern system and are considering an upgrade because of frequent prime issues, it might be time to investigate variable speed pool pumps, which often have more advanced self-priming features.
Safety Notes
- High Pressure Hazard: Always open the air relief valve before starting a pump after maintenance. Pressure can build up inside the filter tank, and in extreme cases, a failure to vent air can cause the filter lid to blow off with dangerous force.
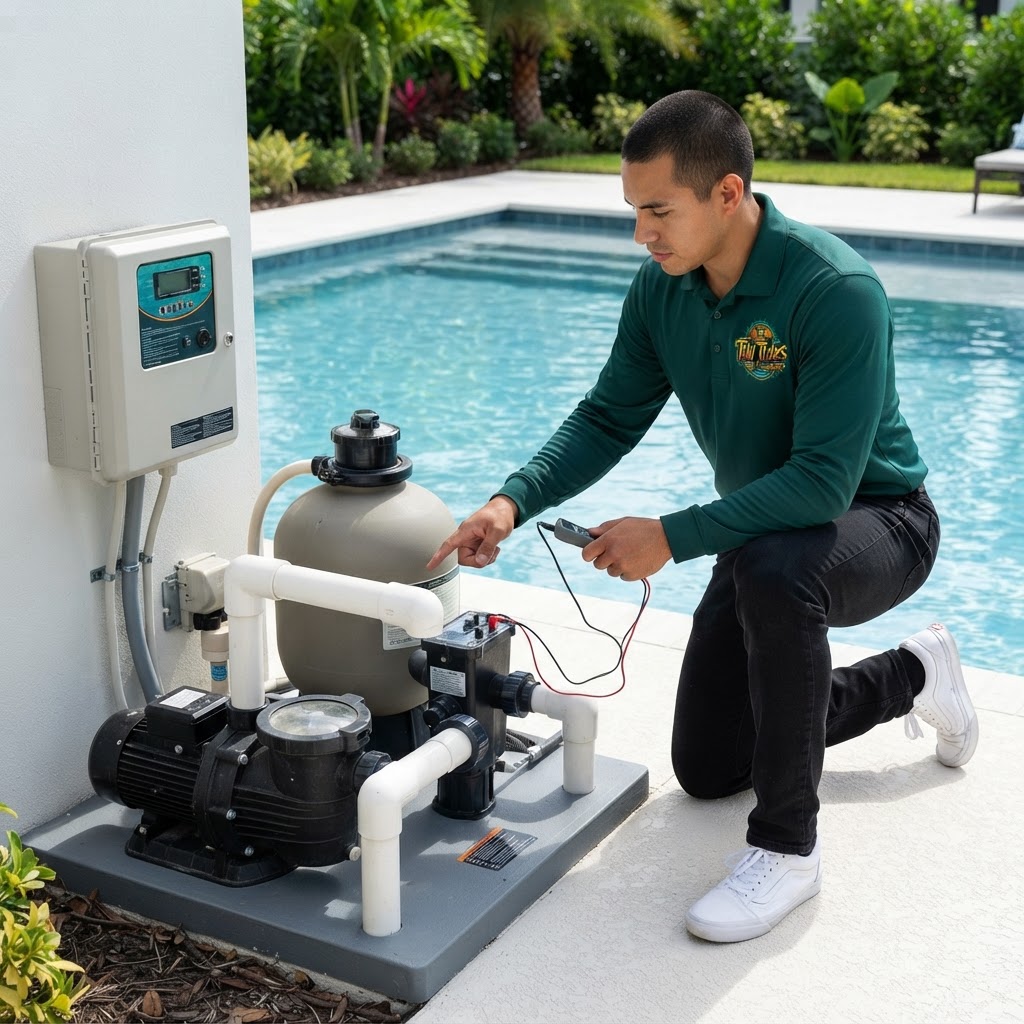
- Electrical Safety: Ensure your hands are dry when operating the breaker or timer. If you notice any frayed wires or water near the motor, call an electrician immediately.
- Chemical Balance: Once circulation is restored, always check your water chemistry. Standard ranges for a safe pool are:
- Free Chlorine: 1.0–3.0 ppm
- pH: 7.2–7.8
- Total Alkalinity: 80–120 ppm
- Calcium Hardness: 200–400 ppm
- Cyanuric Acid (CYA): 30–50 ppm
When to Call a Professional
While most priming issues can be solved by the homeowner, some situations require a technician from Tiki Tides Pools:
- Persistent Air Bubbles: If you have followed the priming steps and still see constant bubbles at the return jets, you likely have a sub-surface plumbing leak.
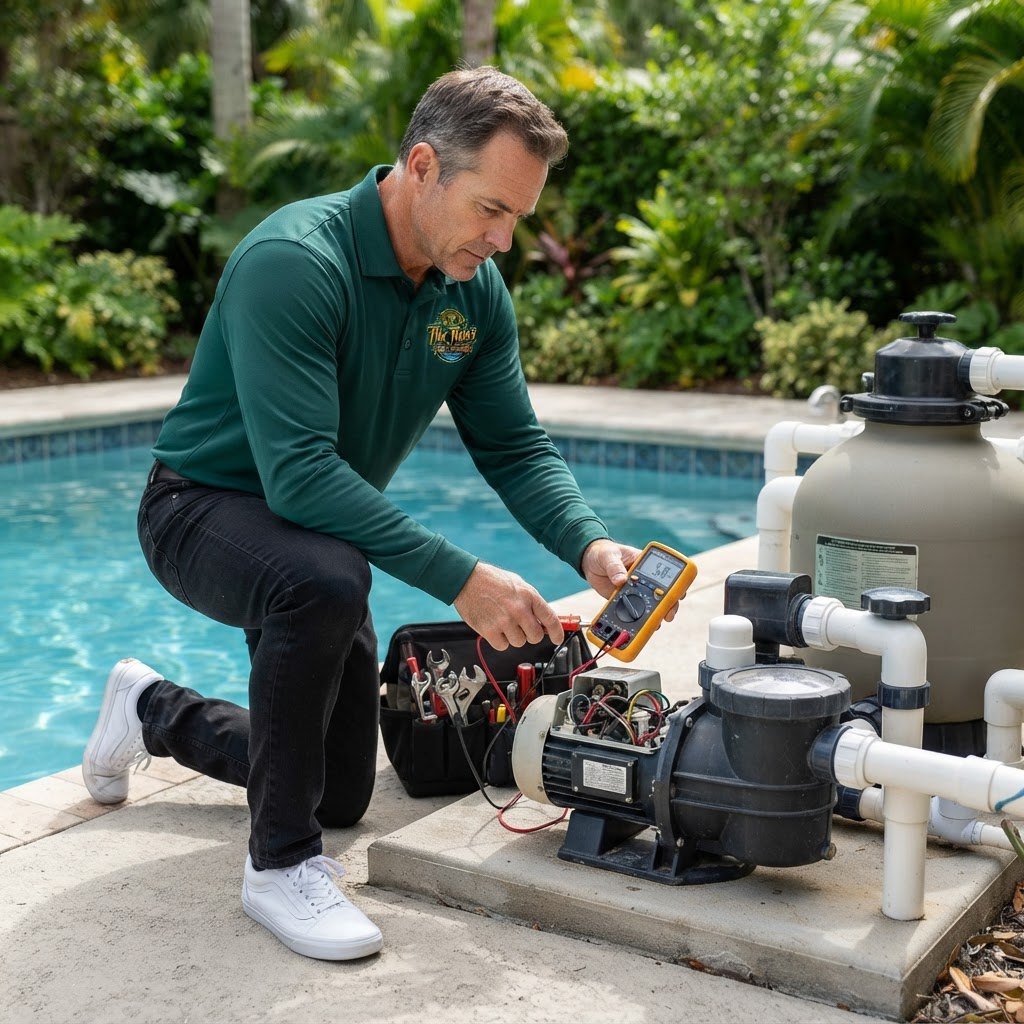
- The Pump Motor is Screeching: This usually indicates failing bearings, often caused by the pump running dry for too long.
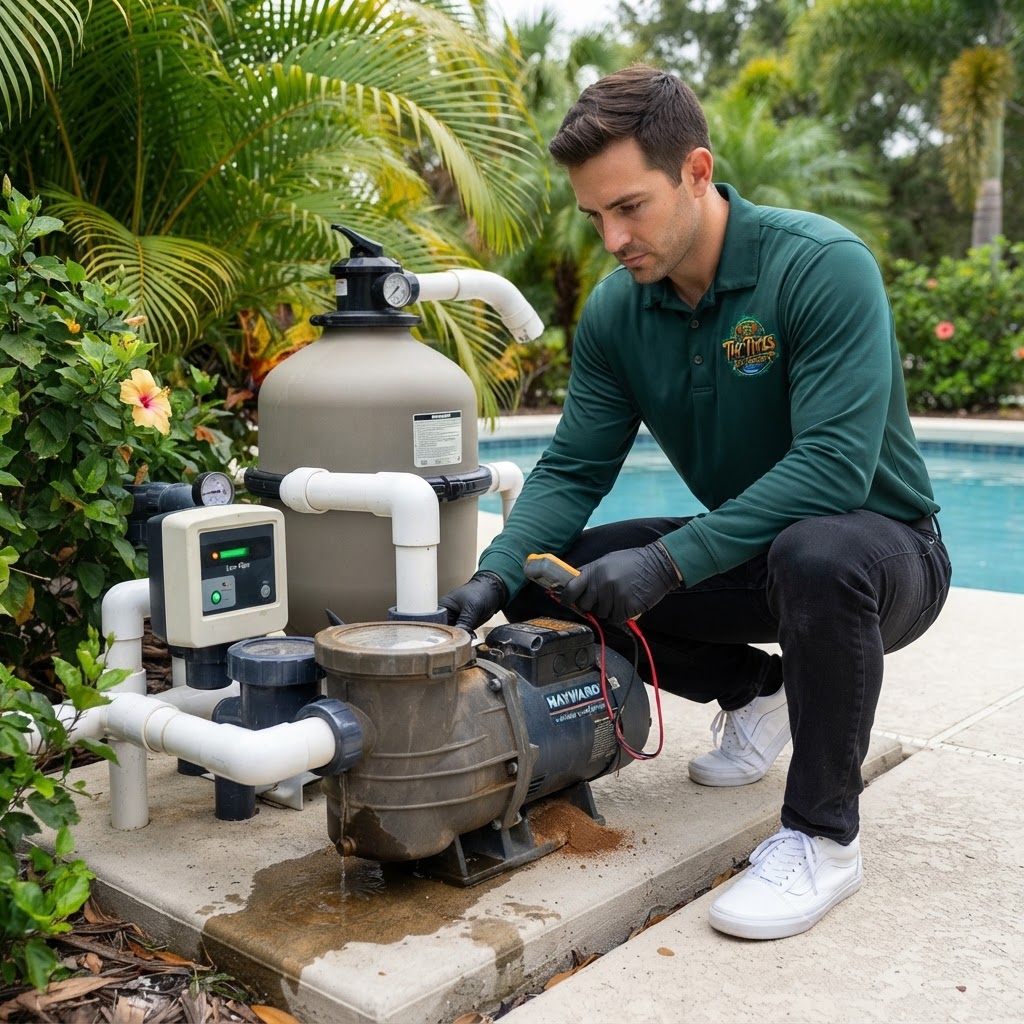
- Visible Leaks at the Pump: If water is leaking from the bottom of the pump housing (the shaft seal), the unit needs professional repair.
- Filter Issues: If the pump primes but the pressure gauge shoots up to 30+ PSI immediately, you may need to backwash your pool filter or clean the internal elements.
Summary
Priming your pool pump is a fundamental part of routine maintenance. By ensuring the pump housing is filled with water and air is purged from the filter, you protect your equipment from overheating and ensure your water remains filtered and sanitized. Remember to always work safely, lubricate your O-rings, and never let your pump run dry. If your pump refuses to hold a prime despite your best efforts, the experts at Tiki Tides Pools are always here to help get your system flowing again.
Related Reading
- Pool Skimmer Maintenance: Keeping the Heart of Circulation Clean
- Save Big on Energy: Are Variable Speed Pool Pumps Actually Worth It?
- Pool Heater Troubleshooting: How to Fix Common Heating Problems
- Master the Flow: When and How to Backwash Your Pool Filter Like a Pro
- Which Pool Filter is Best? Sand vs. Cartridge vs. DE Filters Compared