Switching to a salt water pool is one of the most rewarding upgrades a pool owner can make. If you are tired of the harsh smell of traditional chlorine, the itchy skin, or the constant trips to the store for heavy buckets of tablets, a salt water pool conversion might be the perfect solution. While many people believe salt water pools are "chlorine-free," the reality is even better: they use a process called electrolysis to generate their own pure chlorine from salt added to the water.
At Tiki Tides Pools, we see hundreds of homeowners make this switch every year. The result is consistently clearer water, a more stable chemical profile, and a "silky" feel to the water that traditional pools simply cannot match. In this guide, we will break down exactly how the conversion process works, what equipment you need, and how to maintain your new system for years of crystal-clear swimming.
Why Consider a Salt Water Pool Conversion?
The primary reason owners choose a salt water pool conversion is comfort. Traditional chlorine pools rely on added chemicals that can contain binders and fillers, often leading to chloramines—the compounds responsible for the strong "pool smell" and eye irritation. Salt water systems produce a high-quality, pure form of chlorine that is much gentler on the eyes, skin, and hair.
Beyond comfort, there is the convenience factor. A Salt Chlorine Generator (SCG) acts as an automated chlorine factory. Instead of manually dosing the pool every few days, the system works whenever your pump is running, providing a steady stream of sanitizer. While the initial investment is higher, the long-term savings on chemical costs and the reduction in maintenance time make it a highly cost-effective upgrade.
How a Salt Chlorine Generator Works
To understand the conversion, you must understand the equipment. The heart of the system is the Salt Chlorine Generator, which consists of two main components:
- The Cell: A series of titanium plates coated with precious metals (usually ruthenium or iridium). As salty water passes through these plates, a low-voltage electrical current splits the salt (sodium chloride) and water molecules into hypochlorous acid (chlorine).
- The Power Center: This is the control box mounted near your pool equipment. It regulates the electricity sent to the cell and allows you to adjust the chlorine output based on your pool's needs.
Step-by-Step Conversion Process
Converting to salt water does not require draining your pool unless your total dissolved solids (TDS) are exceptionally high. Here is the professional process for a successful transition:
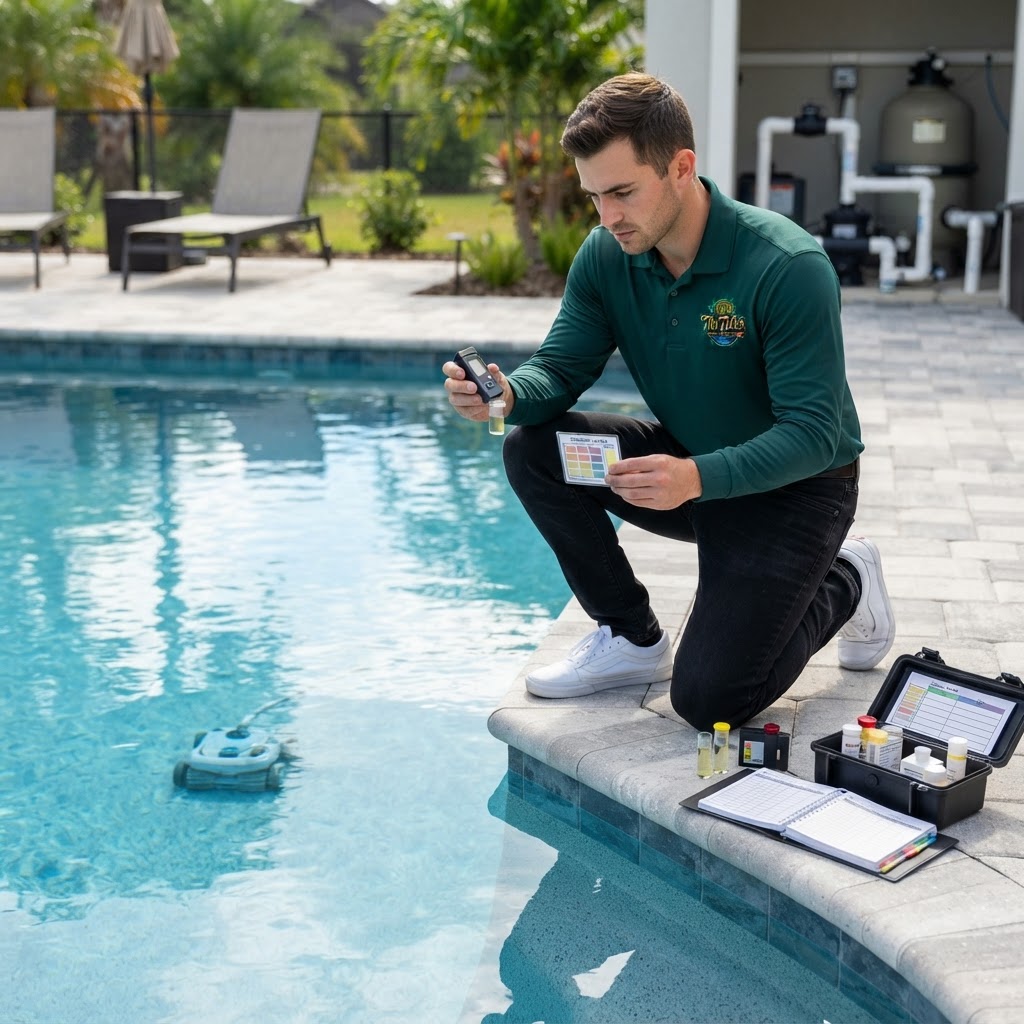
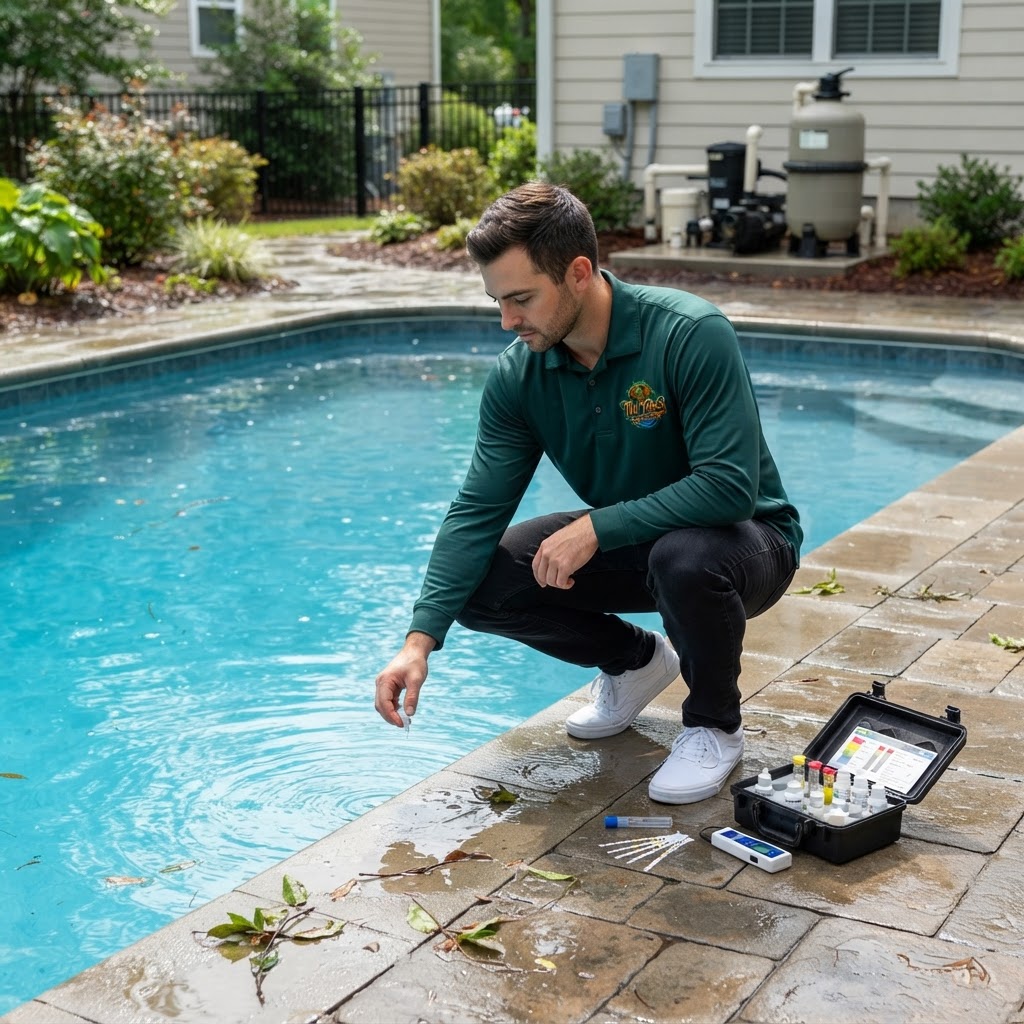
1. Test and Balance Your Water
Before installing any new equipment, your water must be perfectly balanced. High levels of metals or out-of-range chemistry can damage a new salt cell instantly. You should follow the Master Your Water: The Ultimate Guide to Pool Chemistry for Beginners to ensure your base levels are correct.
Maintain these industry-standard ranges during and after conversion:
- Free Chlorine: 1.0–3.0 ppm (CDC standard)
- pH: 7.2–7.8 (CDC standard)
- Total Alkalinity: 80–120 ppm
- Calcium Hardness: 200–400 ppm
- Cyanuric Acid (CYA): 30–50 ppm
2. Purchase the Right Equipment
Salt chlorine generators are rated by the maximum number of gallons they can treat. A pro tip is to always "oversize" your cell. If you have a 20,000-gallon pool, buy a cell rated for 30,000 or 40,000 gallons. This allows the cell to run at a lower output, significantly extending its lifespan.
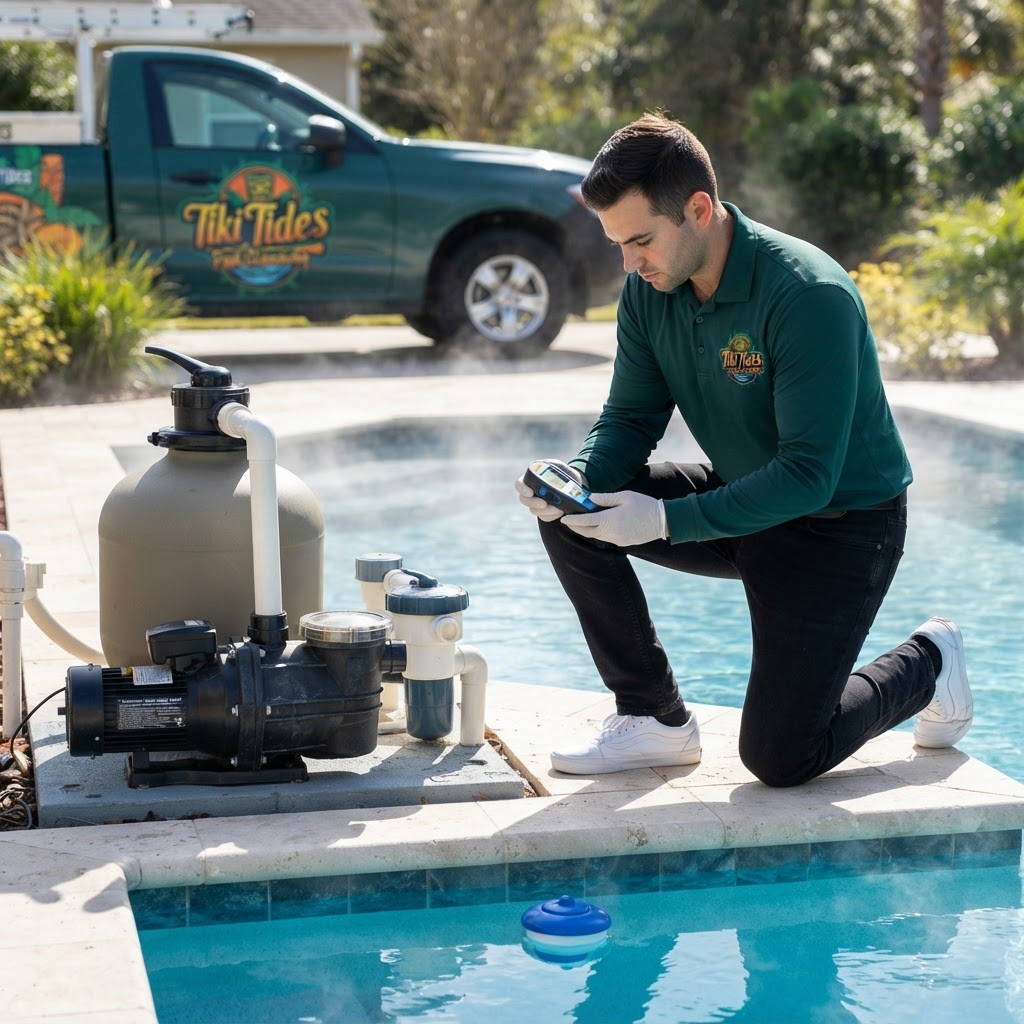
3. Installation of the Salt Cell and Power Center
The salt cell is plumbed into your existing return line, typically after the filter and heater. This ensures that the highly concentrated chlorine produced in the cell doesn't sit inside your expensive heater or filter components. The power center is then mounted and wired into your pool's timer or automation system.
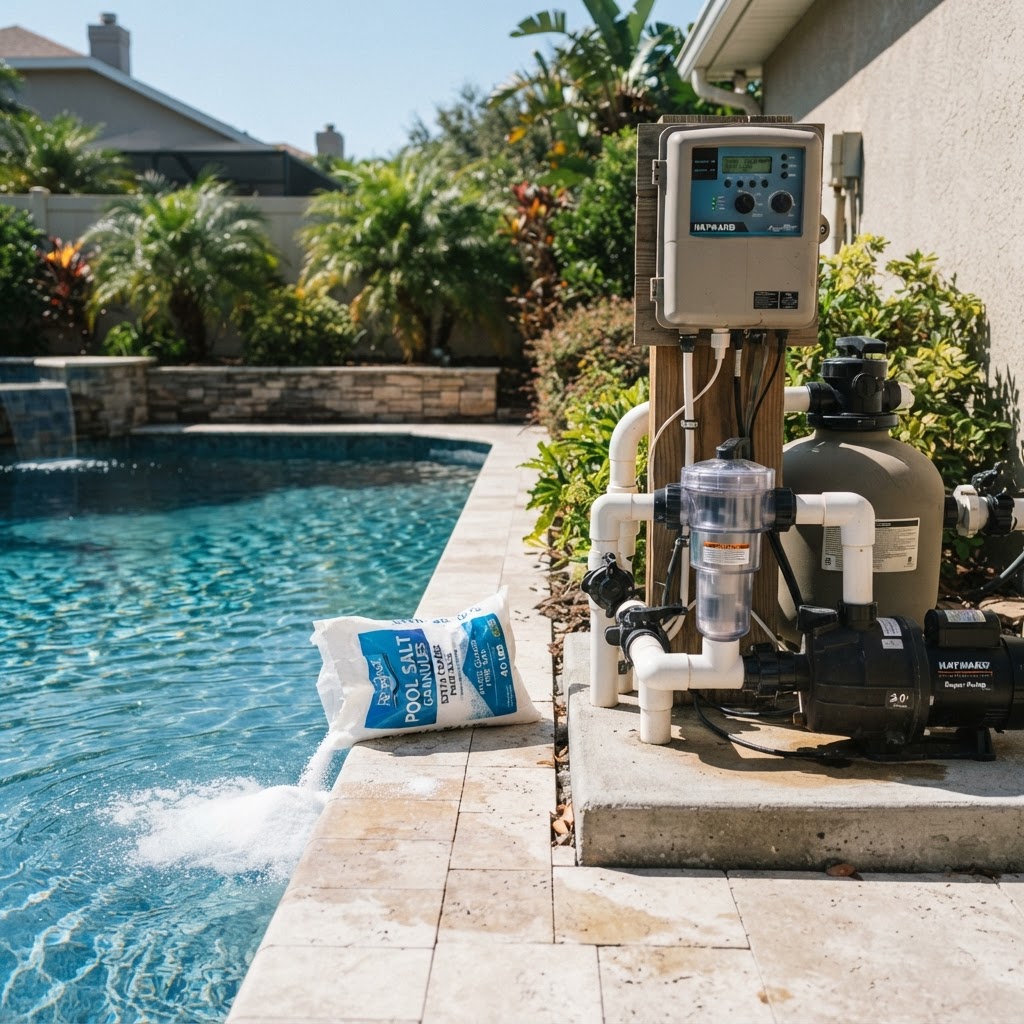
4. Adding the Salt
Once the plumbing is dry and the system is ready, it is time to add the salt. You must use high-purity (99% or higher) pool-grade salt. Avoid using rock salt or water softener salt with anti-caking agents, as these can stain your pool finish.
Most systems require a salt concentration of 2,700 to 3,400 ppm. Use a salt calculator to determine how many bags you need based on your pool's volume. Pour the salt around the perimeter of the deep end and use a pool brush to help it dissolve. Keep your pump running for 24 hours to ensure the salt is fully incorporated before turning on the chlorine generator.
Maintenance Tips for Salt Water Pools
While maintenance is easier, it is not non-existent. You still need to monitor your chemistry weekly. One unique aspect of salt water pools is that the electrolysis process naturally causes the pH to rise over time. You will likely need to add muriatic acid or sodium bisulfate more frequently than you did with a traditional pool.
Additionally, you must monitor your stabilizer levels. Without enough stabilizer, the sun will burn off your chlorine faster than the generator can produce it. For a deep dive into this topic, read Cyanuric Acid Explained: Are You Over-Stabilizing Your Pool?.
You should also keep an eye on your Calcium Hardness: Preventing Scale and Etching in Your Pool levels. If calcium levels get too high, scale can form on the titanium plates of your salt cell, reducing its efficiency and eventually causing it to fail.
Pro Tip: Inspect your salt cell every 3 months for calcium buildup. If you see white, crusty deposits on the plates, a mild acid wash (following manufacturer instructions) will restore its performance and extend its life.
Quick Reference: Tools and Supplies Needed
- Salt Chlorine Generator Kit (Cell and Power Center)
- Pool-Grade Salt (Approximately 30 lbs per 1,000 gallons for a fresh start)
- PVC Pipe and Primer/Glue (For plumbing the cell)
- Salt Test Strips or Digital Tester (Do not rely solely on the generator's display)
- Standard Pool Test Kit (For pH, Alkalinity, and Chlorine)
Safety Notes
- Electrical Safety: Installing a salt chlorine generator involves working with electricity near water. Ensure the system is properly grounded and bonded according to local electrical codes.
- Chemical Handling: When adding salt, ensure the chlorine generator is OFF until the salt is completely dissolved to prevent power surges or damage to the cell.
- Corrosion Prevention: Salt is corrosive. Ensure your pool deck is regularly rinsed, and consider installing a sacrificial zinc anode if you have metal components (like ladders or lights) that are not made of high-grade stainless steel.
When to Call a Professional
While many handy homeowners can tackle a salt water pool conversion as a DIY project, there are times when calling Tiki Tides Pools is the safer and more efficient choice:
- Electrical Wiring: If you are not comfortable working with 240v or 120v electrical panels, hire a professional to avoid risk of shock or fire.
- Complex Plumbing: If your equipment pad is cramped or uses non-standard piping, professional plumbing ensures a leak-free installation.
- System Sizing: If you are unsure of your pool's volume or which model fits your climate, a pro can help you select the most durable unit for your specific needs.
Summary
Converting your pool to salt water is an investment in your home and your quality of life. By automating your sanitation and eliminating the common side effects of liquid or tablet chlorine, you spend less time working on your pool and more time enjoying it. Remember to start with a clean, balanced pool, choose a high-quality generator, and stay on top of your monthly cell inspections. With the right setup, your salt water pool will provide soft, shimmering water for many seasons to come.